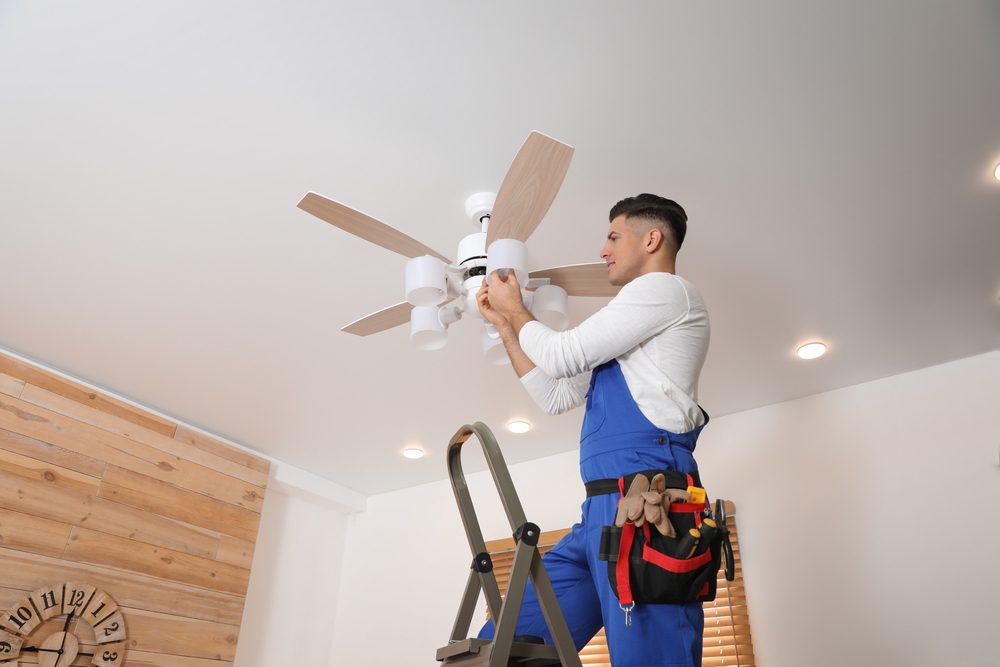
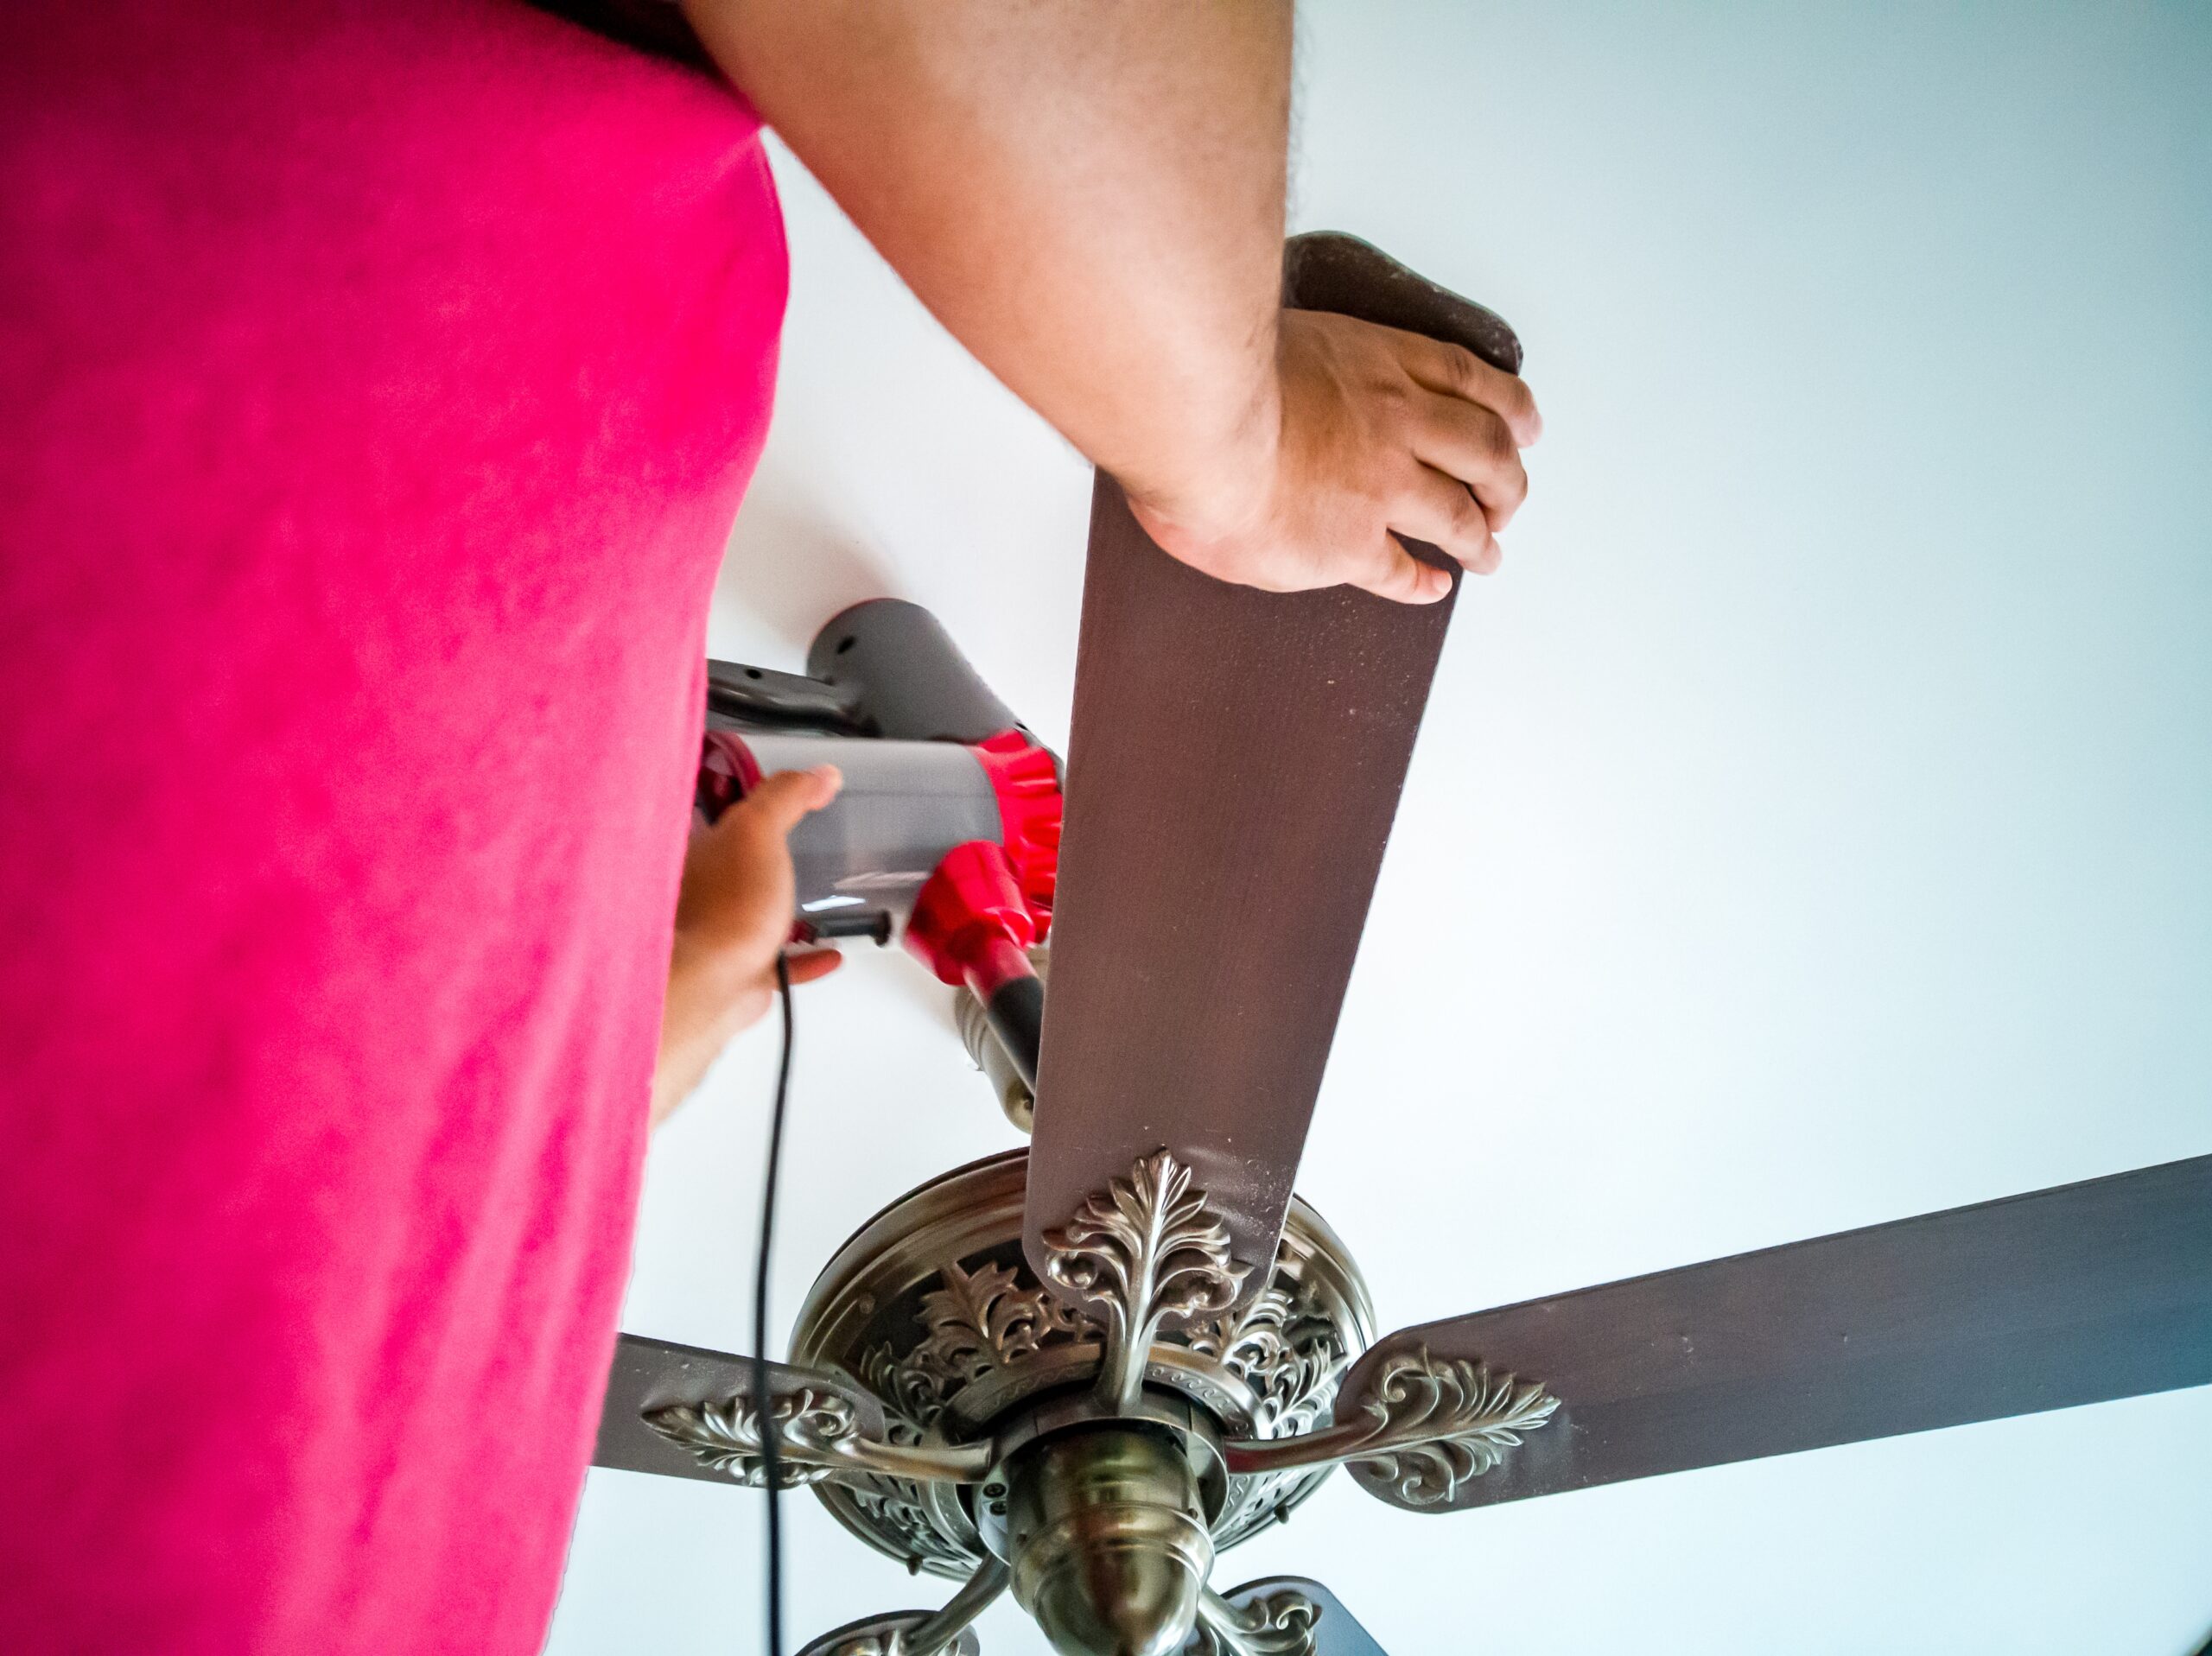
Outdoor living spaces are a popular retreat during warmer months, but keeping cool in the heat can be challenging. An outdoor ceiling fan is a perfect solution to enhance comfort, improve airflow, and add a touch of style to patios, decks, and gazebos. However, proper installation is crucial for ensuring your fan works efficiently and safely in outdoor environments.
In this guide, we’ll explore how to install an outdoor ceiling fan, covering everything from selecting the right fan to step-by-step instructions and essential safety tips. Whether you’re a DIY enthusiast or prefer to leave it to the professionals, this comprehensive resource will help you get it done the right way.
Why Install an Outdoor Ceiling Fan?
Outdoor ceiling fans offer both functional and aesthetic benefits, making them a valuable addition to any outdoor space.
Benefits of Outdoor Ceiling Fans
- Enhanced Comfort: Improves airflow and keeps outdoor areas cool and breezy.
- Pest Control: Circulating air helps deter mosquitoes and other flying insects.
- Energy Efficiency: Reduces reliance on air conditioning, lowering energy costs.
- Stylish Design: Adds a decorative element to your outdoor space.
How to Choose the Right Outdoor Ceiling Fan
Selecting the right fan is essential for optimal performance and durability.
Indoor vs. Outdoor Ceiling Fans
- Weather Resistance: Outdoor fans are UL-rated for damp or wet locations, making them suitable for exposure to moisture.
- Materials: Use corrosion-resistant materials like stainless steel and UV-protected blades.
Consider the Size and Style
- Room Size: Choose a fan with a blade span proportional to your outdoor area.
- Design: Select a fan that complements your outdoor décor, whether modern, rustic, or traditional.
Additional Features

- Lighting Kits: Many outdoor fans come with built-in or optional lighting.
- Remote Controls: Enhance convenience with remote or smart controls.
Tools and Materials Needed for Installation
Gathering the right tools and materials ensures a smoother installation process.
Essential Tools
- Power drill and drill bits
- Screwdrivers (flathead and Phillips)
- Wire strippers
- Voltage tester
- Ladder
Materials
- Outdoor ceiling fan with mounting kit
- Weather-resistant electrical box
- Wire connectors
- Electrical tape
Step-by-Step Guide to Install Outdoor Ceiling Fan
Follow these steps to ensure a safe and secure installation.
Step 1: Turn Off Power
- Shut off electricity at the circuit breaker toprevent electrical shocks.
- Use a voltage tester to confirm no electricity is flowing.
Step 2: Install a Fan-Rated Electrical Box
- Choose a Weatherproof Box: Ensure the box is UL-listed for outdoor use.
- Secure the Box: Attach the electrical box to a ceiling joist for stability.
Step 3: Assemble the Fan
- Follow Manufacturer Instructions: Assemble the fan components as per the guide provided.
- Attach the Downrod: If needed, secure the downrod to achieve the correct height.
Step 4: Wire the Fan
- Connect the Wires: Match the fan wires to the supply wires (black to black, white to white, green to ground).
- Secure Connections: Use wire connectors and wrap with electrical tape.
Step 5: Mount the Fan
- Attach to the Electrical Box: Secure the fan bracket to the box with screws.
- Fix the Fan Blades: Attach the blades and any additional components, such as light kits.
Step 6: Test the Fan
- Restore Power: Turn the electricity back on at the breaker.
- Check Functionality: Test the fan and lights to ensure proper operation.
Safety Tips for Outdoor Ceiling Fan Installation
Safety should always be a priority when working with electrical components.
- Use Proper Tools: Ensure all tools are insulated and suitable for electrical work.
- Weatherproof Components: Use outdoor-rated wiring, boxes, and fixtures to prevent water damage.
- Seek Professional Help: Consult an electrician if you’re unfamiliar with wiring or installation.
Maintenance Tips for Outdoor Ceiling Fans
Regular maintenance ensures your fan operates efficiently and lasts longer.
Clean the Fan Regularly

- Remove dust and debris from the blades and motor housing.
- Use a damp cloth and mild detergent for stubborn dirt.
Inspect for Damage
- Check for loose screws or worn-out components.
- Replace any damaged parts immediately to avoid operational issues.
Lubricate Moving Parts
- Apply lubricant to the motor and bearings to reduce friction and noise.
When to Call a Professional Electrician
While DIY installation is feasible, certain scenarios require professional expertise.
Complex Wiring Issues
If your outdoor area lacks pre-existing wiring, a licensed electrician can safely install the necessary connections.
Time Constraints
Hiring a professional saves time and ensures a hassle-free installation.
Safety Concerns
For elevated installations or areas with tricky wiring, rely on a certified expert for secure and code-compliant work.
Key Takeaway
Installing an outdoor ceiling fan is a practical and stylish way to enhance the comfort and functionality of your outdoor spaces. By selecting the right fan, using weather-resistant materials, and following proper installation steps, you can create a cool and inviting environment on your patio, deck, or gazebo. Regular maintenance and adherence to safety precautions ensure your fan operates efficiently and lasts for years. For complex wiring, elevated installations, or added peace of mind, professional services like those offered by Boca Electrical Services, Inc. are invaluable.
As outdoor living spaces grow in popularity, the demand for efficient and durable cooling solutions like ceiling fans will only increase. If you’ve installed an outdoor ceiling fan or have questions about the process, we encourage you to share your experiences and insights in the comments. Engaging in a conversation helps others make informed decisions while fostering a sense of community. For expert guidance and professional installations, rely on trusted electricians who prioritize safety, quality, and customer satisfaction.
People Also Ask
Can I install an outdoor ceiling fan on a sloped ceiling?
Yes, many outdoor fans come with adjustable mounts or downrods designed for sloped ceilings.
What’s the difference between a damp-rated and wet-rated fan?
Damp-rated fans are suitable for covered areas with minimal moisture exposure, while wet-rated fans can withstand direct contact with rain.
How high should I install an outdoor ceiling fan?
Ceiling fans should typically be installed at least 7–9 feet above the floor for optimal airflow and safety.
Can I install an outdoor fan without an existing electrical box?
Yes, but you’ll need to install a weatherproof fan-rated electrical box before proceeding with the fan installation.
How often should I maintain my outdoor ceiling fan?
Regular cleaning and inspection every 3–6 months can help maintain optimal performance and longevity.
Transform Your Outdoor Space—Call Boca Electrical Services Today!
Cool Down Your Outdoor Space with Boca Electrical Services, Inc.
Don’t let the heat keep you from enjoying your outdoor spaces. At Boca Electrical Services, Inc., we specialize in installing outdoor ceiling fansthat are stylish, durable, and expertly fitted for your patio, deck, or gazebo. With over 38 years of experience serving Boca Raton, Delray Beach, and South Florida, our team ensures fast, reliable, and safe installations tailored to your specific needs.
Explore more tips and tools mentioned in this guide or visit our website for additional insights. For personalized recommendations and professional installation services, contact us today and transform your outdoor space into a cool and inviting retreat!
📍 Address:158 NW 16th St #2, Boca Raton, FL 33432, United States
📞 Phone:+1 561-235-2513
🌐 Website:Visit Boca Electrical Services, Inc.