Imagine moving into a new home or upgrading your space, only to realize that your rooms feel too dim or outdated. This happened to one of our clients in Boca Raton, who wanted to install a wall light fixture in their living room to add warmth and ambiance. They attempted to do it themselves but quickly realized they were unsure about the wiring and mounting. After calling us, we safely installed their new wall light fixtures, ensuring they were securely mounted and properly connected to their electrical system.
Many homeowners think that installing a wall light fixture is as simple as connecting a few wires, but without the right knowledge, it can lead to electrical hazards. According to the Electrical Safety Foundation International (ESFI), electrical malfunctions account for nearly 51,000 home fires per yearin the U.S. To avoid risks and ensure a professional-quality installation, it’s essential to follow the right steps or consult an expert.
If you’re ready to install a new wall light fixture in your home or business, this guide will walk you through seven easy stepsto get the job done right. Let’s dive in!
Step 1: Gather Your Tools and Materials
Before you begin, make sure you have all the necessary tools and supplies. Having everything ready will make the installation process smoother, more efficient, and safer.
What You’ll Need:
- New wall light fixture– Ensure it fits your wall space and design preferences.
- Screwdriver set– Used to remove old fixtures and install new ones.
- Voltage tester– Essential for confirming that no electricity is flowing through the wires before starting work.
- Wire stripper– Helps remove the insulation from electrical wires to make proper connections.
- Wire nuts– Securely fasten electrical connections.
- Electrical tape– Provides an extra layer of insulation for wire connections.
- Drill– Needed for mounting fixtures, especially on drywall.
- Mounting hardware– Usually included with the fixture but double-check to ensure you have the correct parts.
- Ladder– If the fixture is installed at a height, use a stable ladder to avoid accidents.
Having these tools ready will help prevent interruptions while installing the fixture.
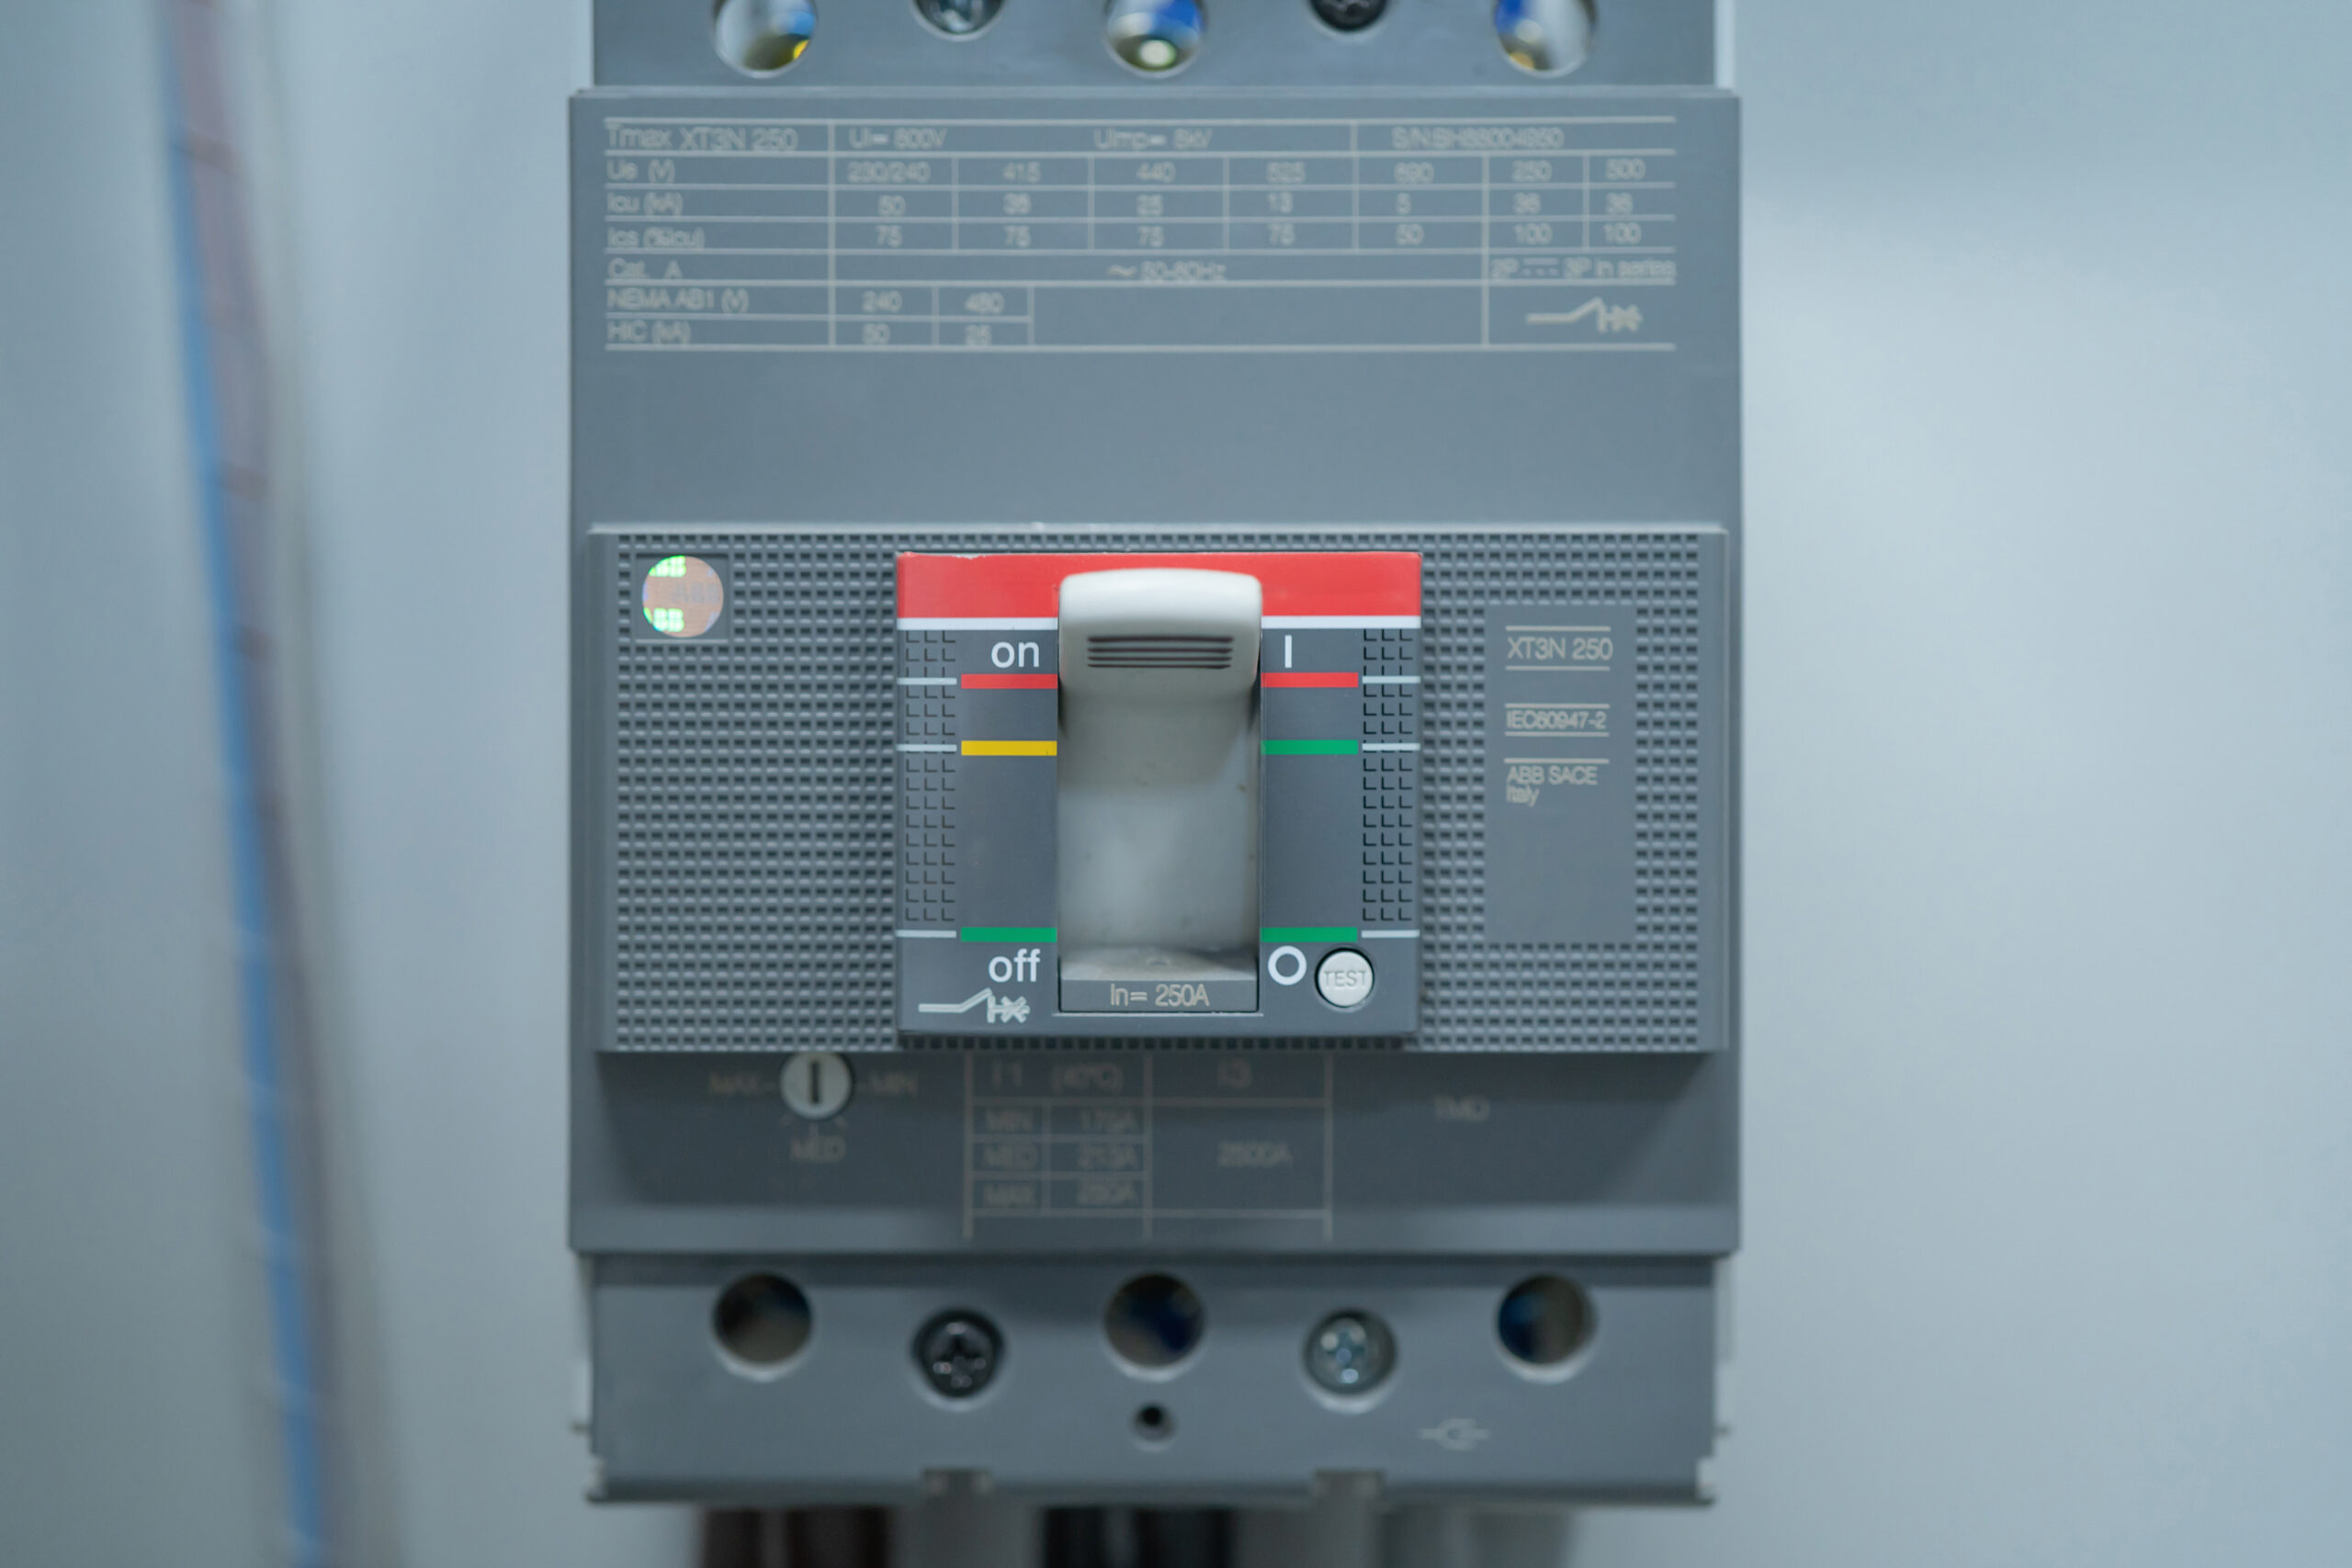
Step 2: Turn Off the Power
Safety First!
Before touching any wires, always turn off the powerat the circuit breaker. Electrical safety is crucial to prevent shocks or fires. Locate the breaker panel in your home, find the correct switch for the room where you’re working, and turn it off.
How to Confirm the Power is Off:
- Use a voltage tester– Touch the tester to the wires before beginning work.
- Double-check the light switch– Flip the switch to make sure the old fixture does not turn on.
- Label the breaker– If it’s not labeled, now is a good time to note which breaker controls the fixture for future reference.
Never assume the power is off until you’ve verified it with a voltage tester.
Step 3: Remove the Old Light Fixture
If you’re replacing an old light fixture, you’ll need to carefully remove it first. This step requires patience and attention to detail to avoid damaging your electrical system or walls.
How to Remove the Old Fixture:
- Unscrew the fixture– Most wall-mounted fixtures are secured with screws. Remove them while holding the fixture in place to avoid it falling.
- Disconnect the wires– Inside the electrical box, you’ll find wire connections secured with wire nuts. Carefully unscrew these nuts and separate the wires.
- Inspect the electrical box– Ensure the box is securely mounted and in good condition. If it’s loose or damaged, it may need repair before installing the new fixture.
If you find old wiring that looks brittle or outdated, consider calling a professional electrician to ensure a safe installation.
Step 4: Connect the New Wires
Understanding the Wiring
Before you connect the new fixture, it’s essential to understand the three main types of wires:
- Black (Live/Hot Wire)– Carries electricity from the switch to the fixture.
- White (Neutral Wire)– Completes the electrical circuit by returning power to the panel.
- Green or Bare Copper (Ground Wire)– Provides grounding for electrical safety.
How to Make Proper Wire Connections:
- Match the wires– Connect the black fixture wire to the black house wire, white to white, and green/bare to the grounding wire.
- Secure the connections– Use wire nuts to tightly connect each wire pair and wrap them with electrical tape for added security.
- Tuck the wires into the box– Carefully push the wires into the electrical box while ensuring they are not pinched or exposed.
Ensuring a secure and proper connection is crucial for the safe operation of your new light fixture.
Step 5: Secure the Light Fixture to the Wall
Once the wiring is safely connected, the next step is to mount the fixture properly.
How to Mount the Fixture:
- Attach the mounting bracket– Secure it to the electrical box using the screws provided.
- Align the fixture with the bracket– Make sure it’s level before securing it.
- Fasten the fixture– Use the provided screws to hold it firmly in place.
- Check for stability– Give the fixture a slight shake to ensure it’s mounted securely.
This step ensures that your fixture stays in place and is positioned correctly for optimal lighting.
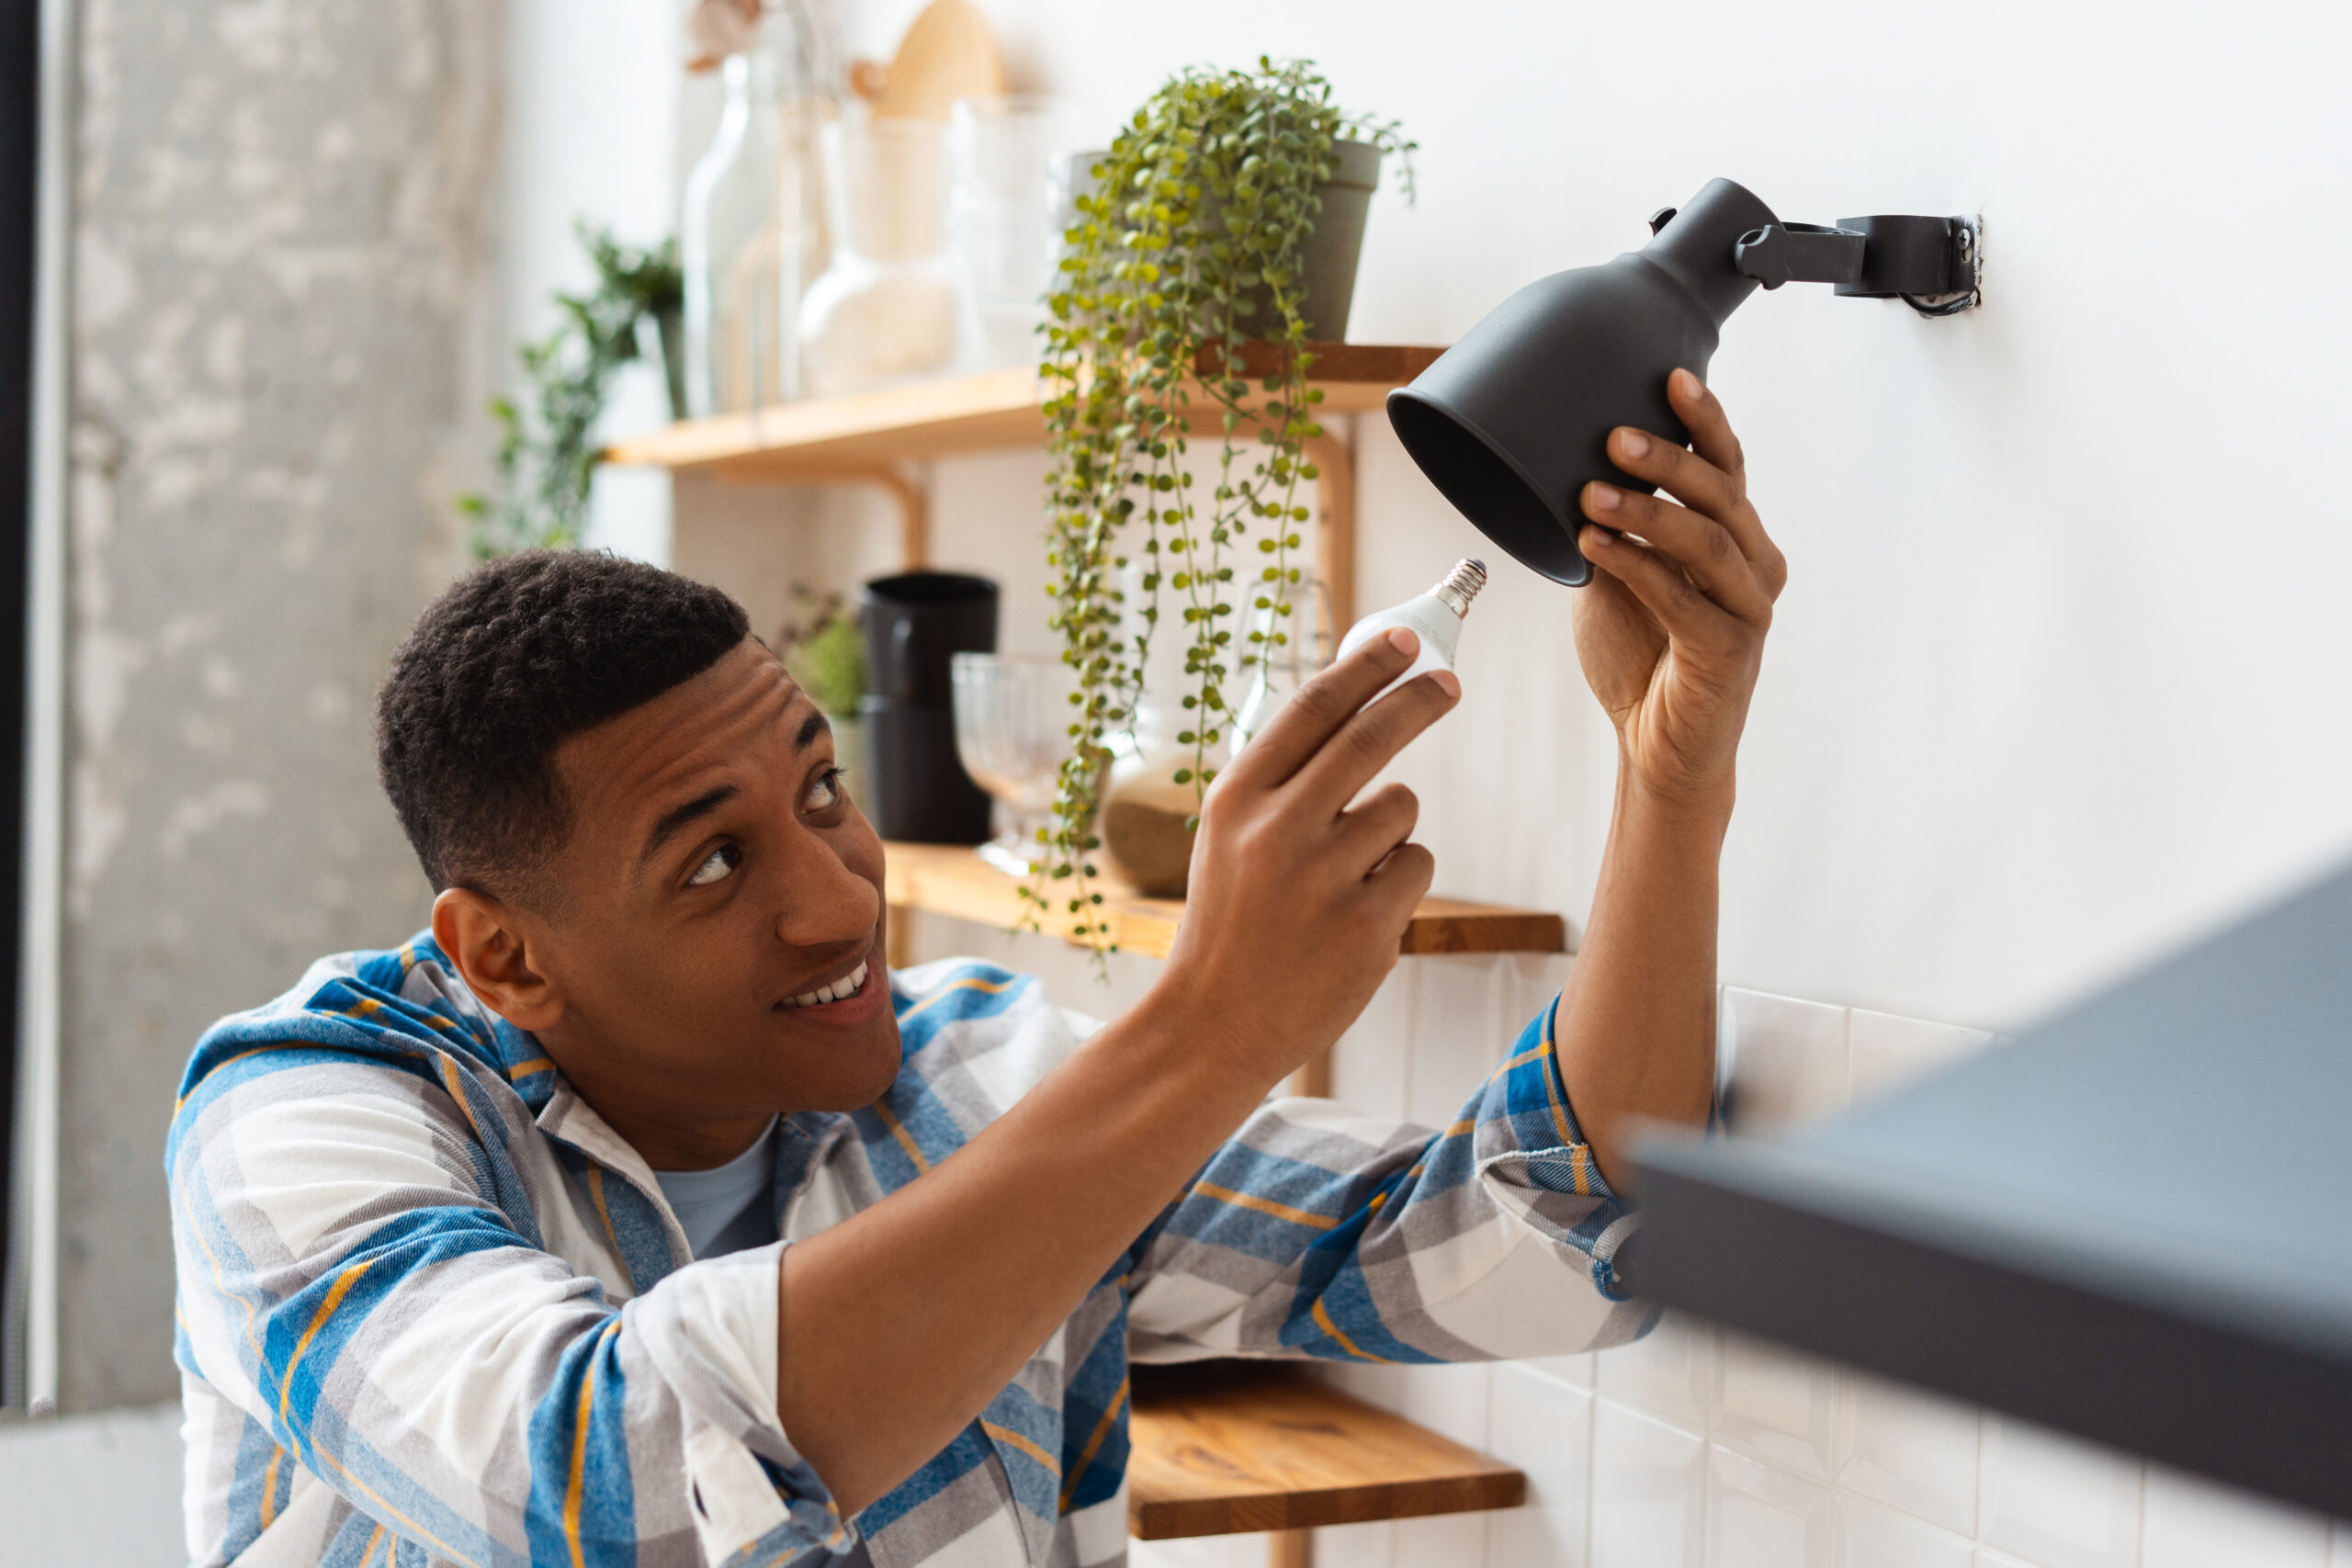
Step 6: Install the Light Bulb and Cover
Final Touches
Now that the fixture is mounted, it’s time to add the finishing touches.
- Choose the right light bulb– Check the wattage and bulb type recommended by the manufacturer.
- Secure the fixture’s cover or shade– Many wall fixtures come with glass or decorative covers that need to be properly attached.
- Adjust positioning– Make final adjustments to ensure everything is centered and visually appealing.
This step enhances the fixture’s appearance and ensures it functions as intended.
Step 7: Restore Power and Test the Light
The Final Check
Once everything is in place, turn the power back on at the circuit breaker and test the fixture.
- Flip the light switch to ensure it works correctly.
- If the fixture does not turn on, double-check the wiring connections.
- Inspect for flickering or dimming, which could indicate a loose wire or incorrect installation.
Congratulations! You’ve successfully installed a wall light fixture.
People Also Ask
- Can I install a wall light fixture without an electrical box?
No, an electrical box is required for safety and code compliance. If your wall does not have one, a professional electrician can install one for you.
- Do I need a permit to install a wall light fixture in Boca Raton?
For simple replacements, a permit is usually not required. However, if new wiring is involved, it’s best to check with local building codes or consult an electrician.
- Can I install a dimmer switch with my wall light fixture?
Yes! Many wall light fixtures are compatible with dimmer switches, but you’ll need to ensure you use a dimmable light bulb and a compatible switch.
- What type of light bulb should I use for energy efficiency?
LED bulbs are the best choice for energy efficiency, lasting longer and using significantly less electricity than incandescent or CFL bulbs.
How Can Boca Electrical Service Help You?
If you’re unsure about wiring, mounting, or safety concerns, it’s best to call in a professional. Boca Electrical Servicespecializes in residential and commercial electrical installationsin Boca Raton, FL. Whether you’re installing a new light fixture, upgrading your home’s lighting, or need expert troubleshooting, we’re here to help!
Why Choose Us?
- Licensed & Insured Electricians– Ensuring safety and quality in every job.
- Same-Day & Emergency Services– Quick response for urgent electrical needs.
- Affordable & Transparent Pricing– No hidden fees, just honest service.
- Residential & Commercial Expertise– From small homes to large office buildings.
Call us today at (561) 320-8539to schedule your wall light installation!
Visit us at 123 NW 13th St Suite 214-09, Boca Raton, FL 33432for expert electrical services.
Don’t risk electrical hazards—trust the professionals at Boca Electrical Serviceto get the job done safely and efficiently!