Replacing a ceiling fan with a light fixture may seem like a straightforward task, but it’s more than just swapping one item for another. It involves working with electrical wiring, ensuring compatibility with existing systems, and safely mounting the new fixture. Whether you’re upgrading your space or addressing a design preference, knowing how to replace a ceiling fan with light fixtureis essential.
This comprehensive guide will walk you through the step-by-step process of replacing a ceiling fan with a light fixture. We’ll cover everything from preparation to safety tips, and we’ll help you decide whether it’s a project you can handle yourself or if it’s better to call a professional like Boca Electrical Services, Inc.
Why Replace a Ceiling Fan with a Light Fixture?
There are many reasons why homeowners opt to replace a ceiling fan with a light fixture, including:
- Updated Aesthetics: Light fixtures come in various designs that can modernize and elevate the look of your space.
- Better Lighting: A dedicated light fixture often provides more consistent and focused illumination than a ceiling fan with a built-in light.
- Space Optimization: In low-ceiling areas, removing a ceiling fan can create a more open and streamlined look.
- Reduced Maintenance: Ceiling fans with lights can be bulky and require more upkeep, while a simple light fixture is easier to maintain.
Tools and Materials You’ll Need
Before starting the project, gather the necessary tools and materials:
- Tools:
- Screwdrivers (flathead and Phillips)
- Voltage tester
- Wire strippers
- Pliers
- Ladder
- Drill (optional for mounting hardware)
- Materials:
- New light fixture
- Wire connectors (wire nuts)
- Electrical tape
- Replacement mounting bracket (if needed)
Step-by-Step Guide: How to Replace a Ceiling Fan with a Light Fixture
Step 1: Turn Off Power
Before doing any electrical work, turn off the power to the ceiling fan at the circuit breaker. Use a voltage tester to ensure no electricity is flowing to the wires.
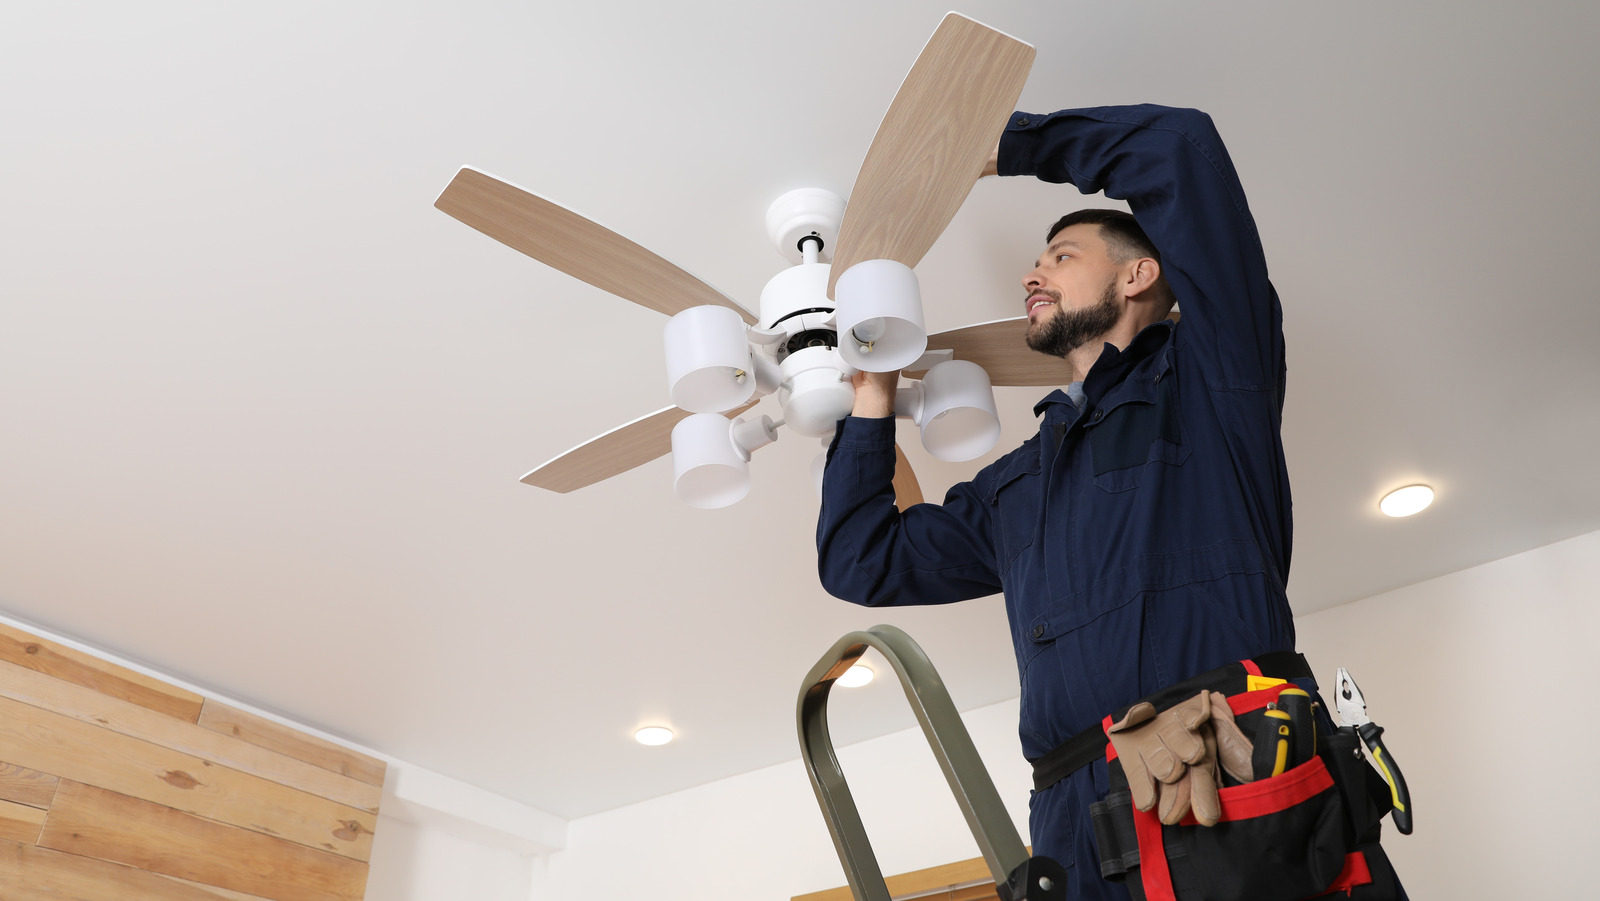
Step 2: Remove the Ceiling Fan
- Detach the Blades: Unscrew and remove the fan blades to make the fixture lighter and easier to handle.
- Disconnect the Canopy: Locate the screws holding the canopy (the cover near the ceiling) in place. Remove the canopy to expose the wiring.
- Disconnect the Wires: Carefully disconnect the wires connecting the fan to the electrical box. Note the color coding of the wires (black, white, and green or bare copper for ground).
- Remove the Mounting Bracket: Unscrew the mounting bracket and remove it from the electrical box.
Step 3: Prepare the Electrical Box
Inspect the electrical box to ensure it’s securely mounted and rated to support the weight of the new light fixture. Replace it with a more robust box if necessary.
Step 4: Install the New Mounting Bracket
Attach the mounting bracket that comes with your new light fixture to the electrical box using screws. Make sure it’s aligned and secure.
Step 5: Connect the Wires
- Match the Wires: Connect the wires from the light fixture to the wires in the ceiling box, matching colors:
- Black (Hot): Connects to the black wire from the ceiling.
- White (Neutral): Connects to the white wire from the ceiling.
- Green or Bare Copper (Ground): Connects to the ground wire from the ceiling box or mounting bracket.
- Secure the Connections: Use wire connectors (wire nuts) to secure each connection, then wrap them with electrical tape for added protection.
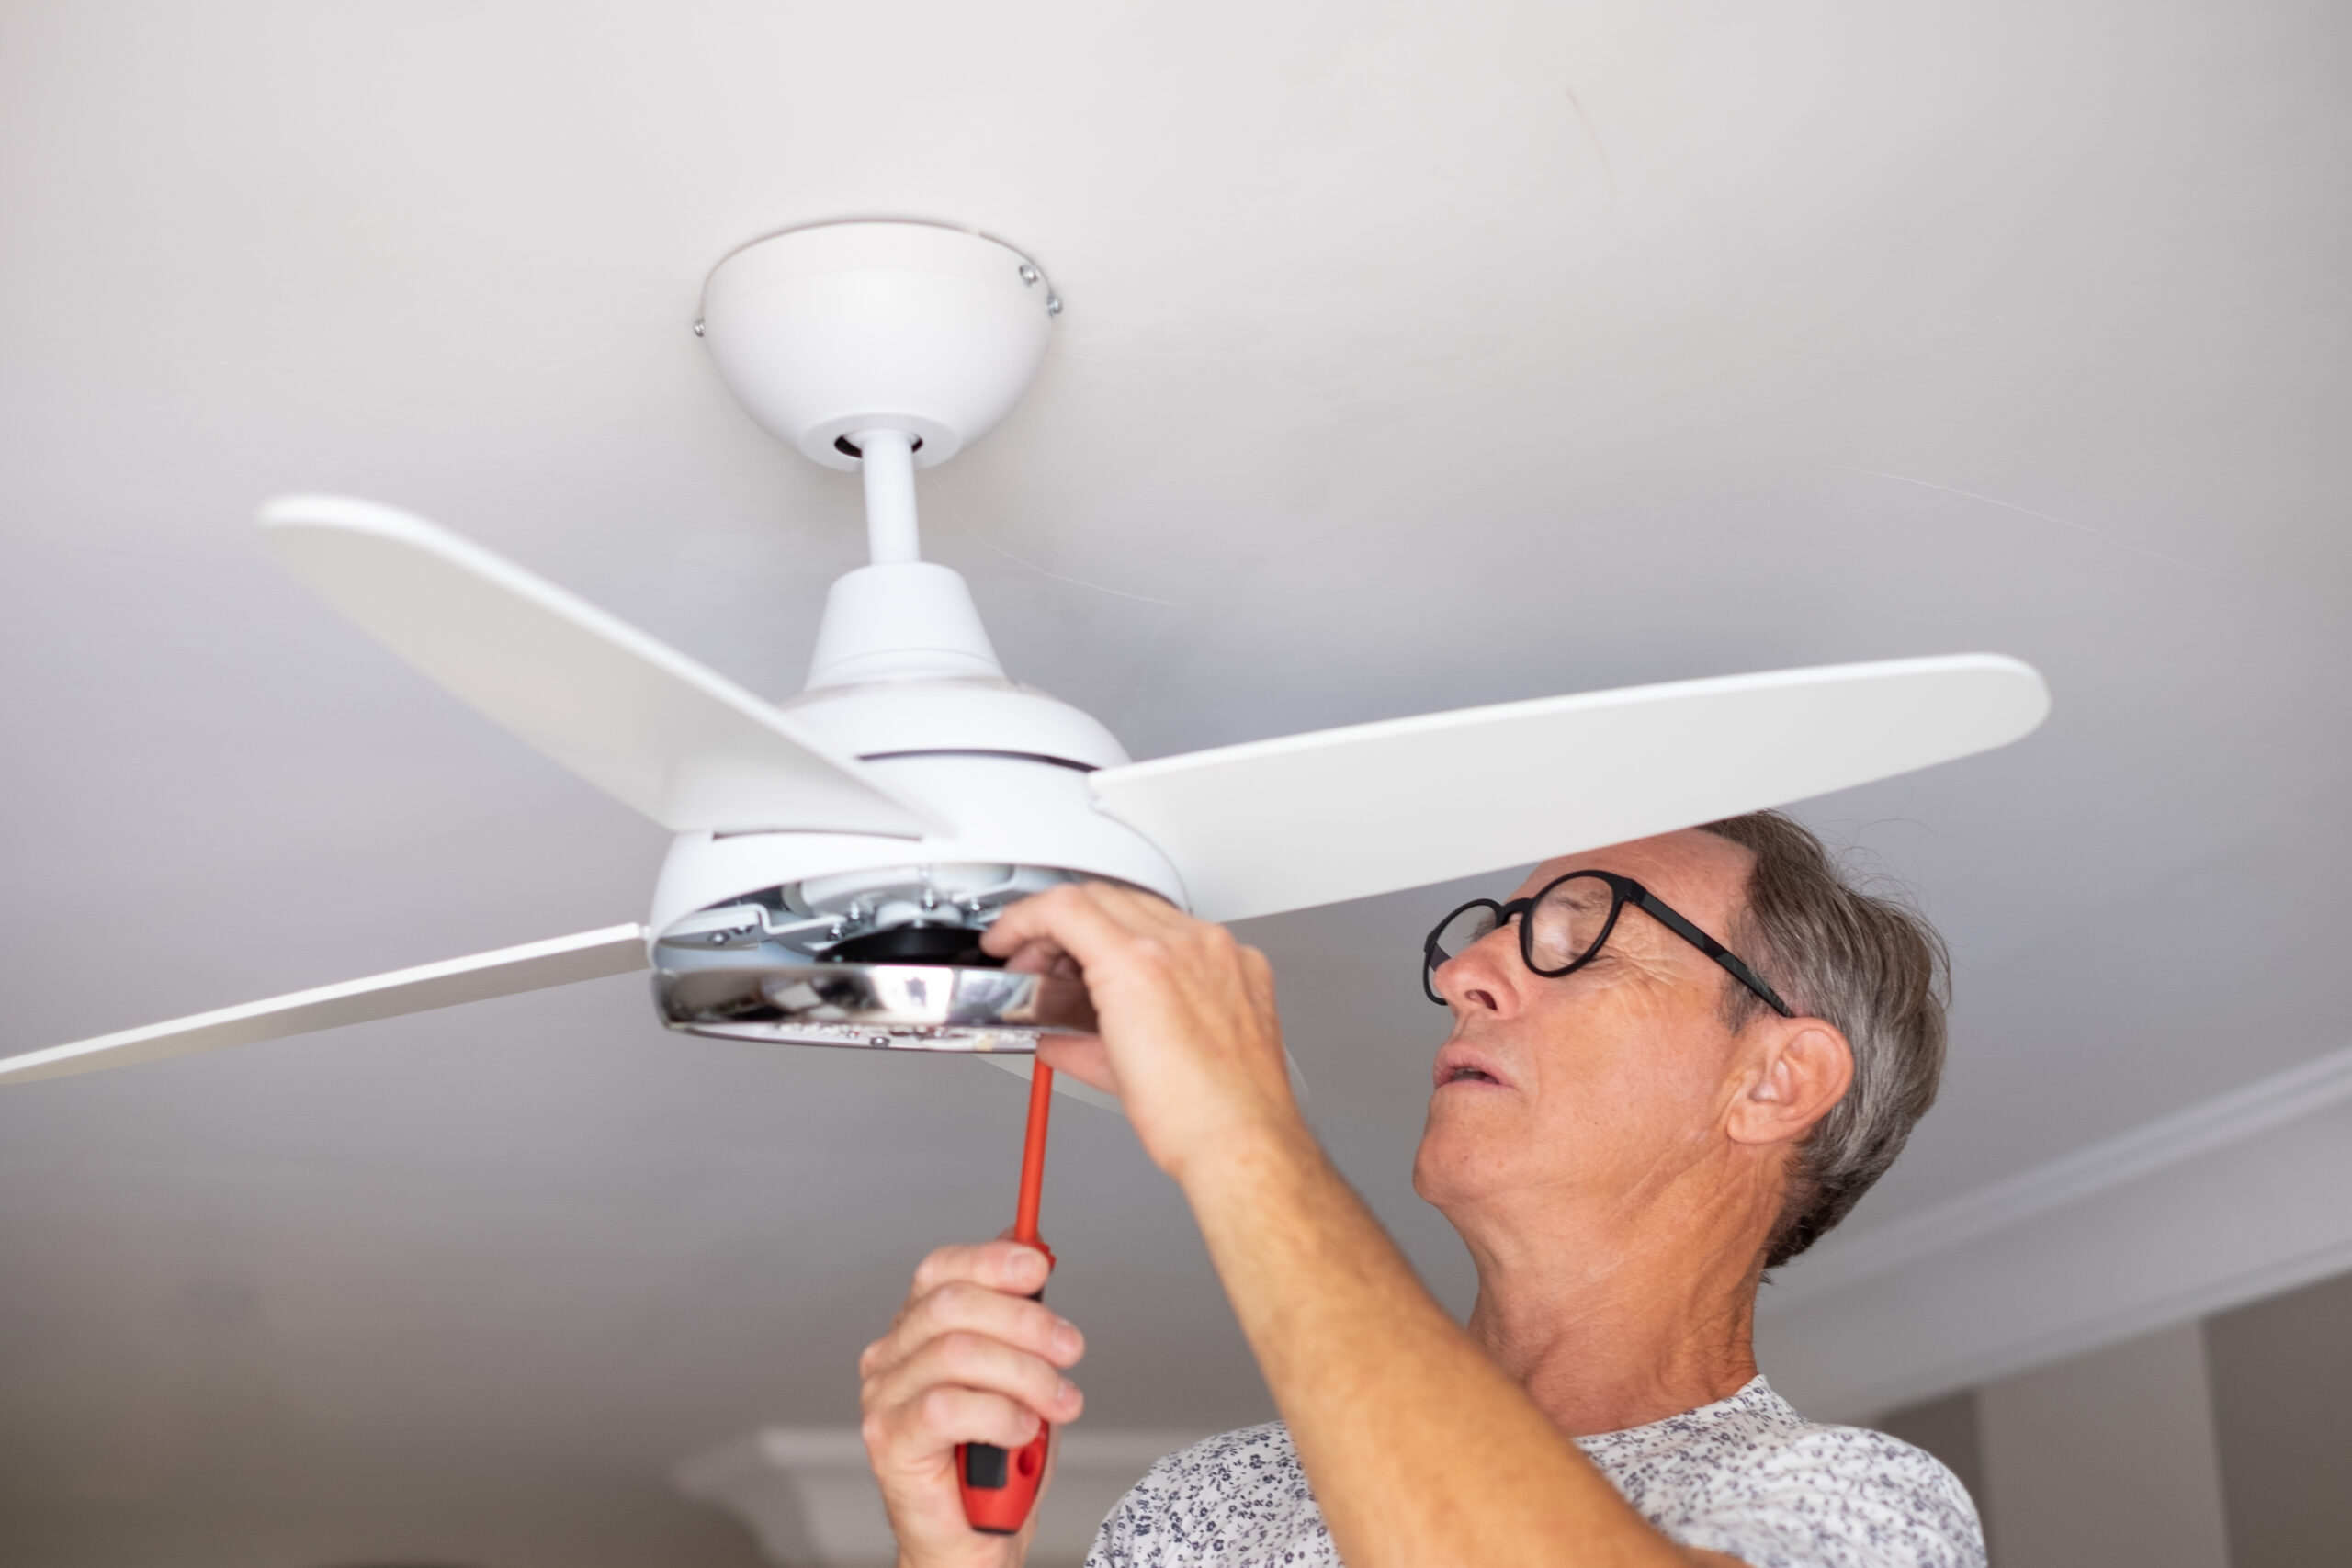
Step 6: Attach the Light Fixture
Secure the light fixture to the mounting bracket according to the manufacturer’s instructions. Make sure all screws are tight and the fixture is stable.
Step 7: Test the Light
Turn the power back on at the circuit breaker and test the light to ensure it’s working correctly.
Step 8: Finish and Clean Up
Tidy up any loose wires or screws, and clean the area to complete the installation.
Should You DIY or Call a Professional?
While replacing a ceiling fan with a light fixture can be a manageable DIY project for those with some electrical knowledge, certain situations call for professional help:
When to DIY
- You’re confident in your ability to safely work with electrical wiring.
- The existing wiring and electrical box are in good condition and compatible with the new fixture.
- The light fixture is lightweight and straightforward to install.
When to Call a Pro
- You’re unsure about handling electrical work safely.
- The existing wiring is outdated or damaged and requires replacement.
- The new fixture is heavy or requires additional support.
- You want peace of mind knowing the installation meets local building codes.
At Boca Electrical Services, Inc., our licensed electricians handle light fixture installations with precision and care, ensuring your project is completed safely and efficiently.
Common Mistakes to Avoid
Replacing a ceiling fan with a light fixture isn’t without its challenges. Avoid these common pitfalls:
Skipping the Power Check
Always double-check that the power is off before starting work to avoid electrical shocks.
Ignoring Weight Limits
Ensure the electrical box is rated to support the weight of the new light fixture. Overloading the box can lead to safety hazards.
Incorrect Wiring
Mismatched or loose wire connections can cause the fixture to malfunction or pose a fire risk.
Not Using the Right Tools
Using improper tools or materials can lead to poor installation and potential damage to the fixture or wiring.
Why Choose Boca Electrical Services, Inc.?
Experience You Can Trust
With over 38 years of combined experience, Boca Electrical Services is a family-owned business specializing in residential and commercial electrical solutions.
Comprehensive Services
Our services include ceiling fan reinstallation, chandelier installation, electrical panel upgrades, and more. Whether you’re upgrading a single fixture or renovating an entire space, we’ve got you covered.
Customer-Centered Approach
We prioritize your safety and satisfaction, providing clear communication, upfront pricing, and a free home safety inspection with every job.
Essential Key Takeaways for Replacing Ceiling Fans with Light FixturesKey Takeaways
Replacing a ceiling fan with a light fixture can refresh your space and improve functionality, but it’s essential to approach the task with care. Understanding the process—from turning off the power to securely wiring and mounting the new fixture—ensures a safe and successful installation.
While DIY may be an option for those with electrical experience, calling a professional like Boca Electrical Services, Inc.guarantees your project meets safety standards and delivers lasting results. With over 38 years of experience serving South Florida, we’re your trusted partner for all your electrical needs.
Ready to Replace Your Ceiling Fan with a Light Fixture? Contact Boca Electrical Services Today!
Don’t take chances with your electrical projects—let the experts at Boca Electrical Services, Inc.handle your light fixture installation with precision and care.
Call us now at +1 561-235-2513to schedule your service.
Visit us at 158 NW 16th St #2, Boca Raton, FL 33432, United States.
From simple upgrades to complex electrical projects, our team is here to deliver fast, reliable, and professional service throughout South Florida. Contact us today to bring light and style to your home!