Ceiling fans are a fantastic addition to any space, providing comfort, air circulation, and energy efficiency. But when it comes to installing one on a drop ceiling, many people are unsure how to proceed. The lightweight panels and unique structure of drop ceilings pose challenges that require special tools, techniques, and planning.
This guide will walk you through how to install a ceiling fan on a drop ceiling effortlessly, offering a step-by-step approach, professional tips, and safety precautions. Whether you’re a DIY enthusiast or considering hiring an expert, this blog will equip you with all the information you need.
Why Install a Ceiling Fan on a Drop Ceiling?
A ceiling fan on a drop ceiling offers both aesthetic and practical benefits, especially in commercial spaces, basements, and offices.
Benefits of Ceiling Fans on Drop Ceilings
- Improved Air Circulation: Keeps rooms cooler in summer and evenly distributes heat in winter.
- Energy Savings: Reduces reliance on air conditioning, leading to lower utility bills.
- Enhanced Aesthetics: Modern fan designs can enhance the look of your space.
- Functionality: Ideal for basements and offices where traditional ceiling mounts may not work.
Tools and Materials You’ll Need
Proper tools and materials are essential for a smooth installation. Gather these items before you begin:
Basic Tools
- Power drill and drill bits
- Screwdrivers (flathead and Phillips)
- Wire stripper
- Measuring tape
- Utility knife
Required Materials
- Ceiling fan with mounting hardware
- Support brace or fan-rated box for drop ceilings
- Lag bolts or anchors
- Wire connectors and electrical tape
- Safety goggles and gloves
Step-by-Step Guide to Installing a Ceiling Fan on a Drop Ceiling
Follow these steps to ensure a safe and effective installation.
Step 1: Choose the Right Location
Selecting the ideal spot for your ceiling fan is crucial.
- Positioning: Choose a location centered in the room for optimal airflow.
- Accessibility: Ensure easy access to electrical connections.
- Panel Integrity: Avoid placing the fan directly on lightweight ceiling panels.
Step 2: Install a Fan-Rated Support Brace
Drop ceilings are not designed to support heavy loads. A fan-rated support brace provides the necessary stability.
- Measure and Mark: Use a measuring tape to mark the ceiling grid where the brace will go.
- Install the Brace: Secure the brace between the ceiling joists above the drop ceiling.
- Check Stability: Ensure the brace is tight and secure.
Step 3: Mount the Fan Box
A fan-rated box is essential for housing the electrical connections and securing the fan.
- Attach the Box: Connect the fan box to the support brace with lag bolts or screws.
- Verify Alignment: Ensure the box aligns with the drop ceiling grid opening.
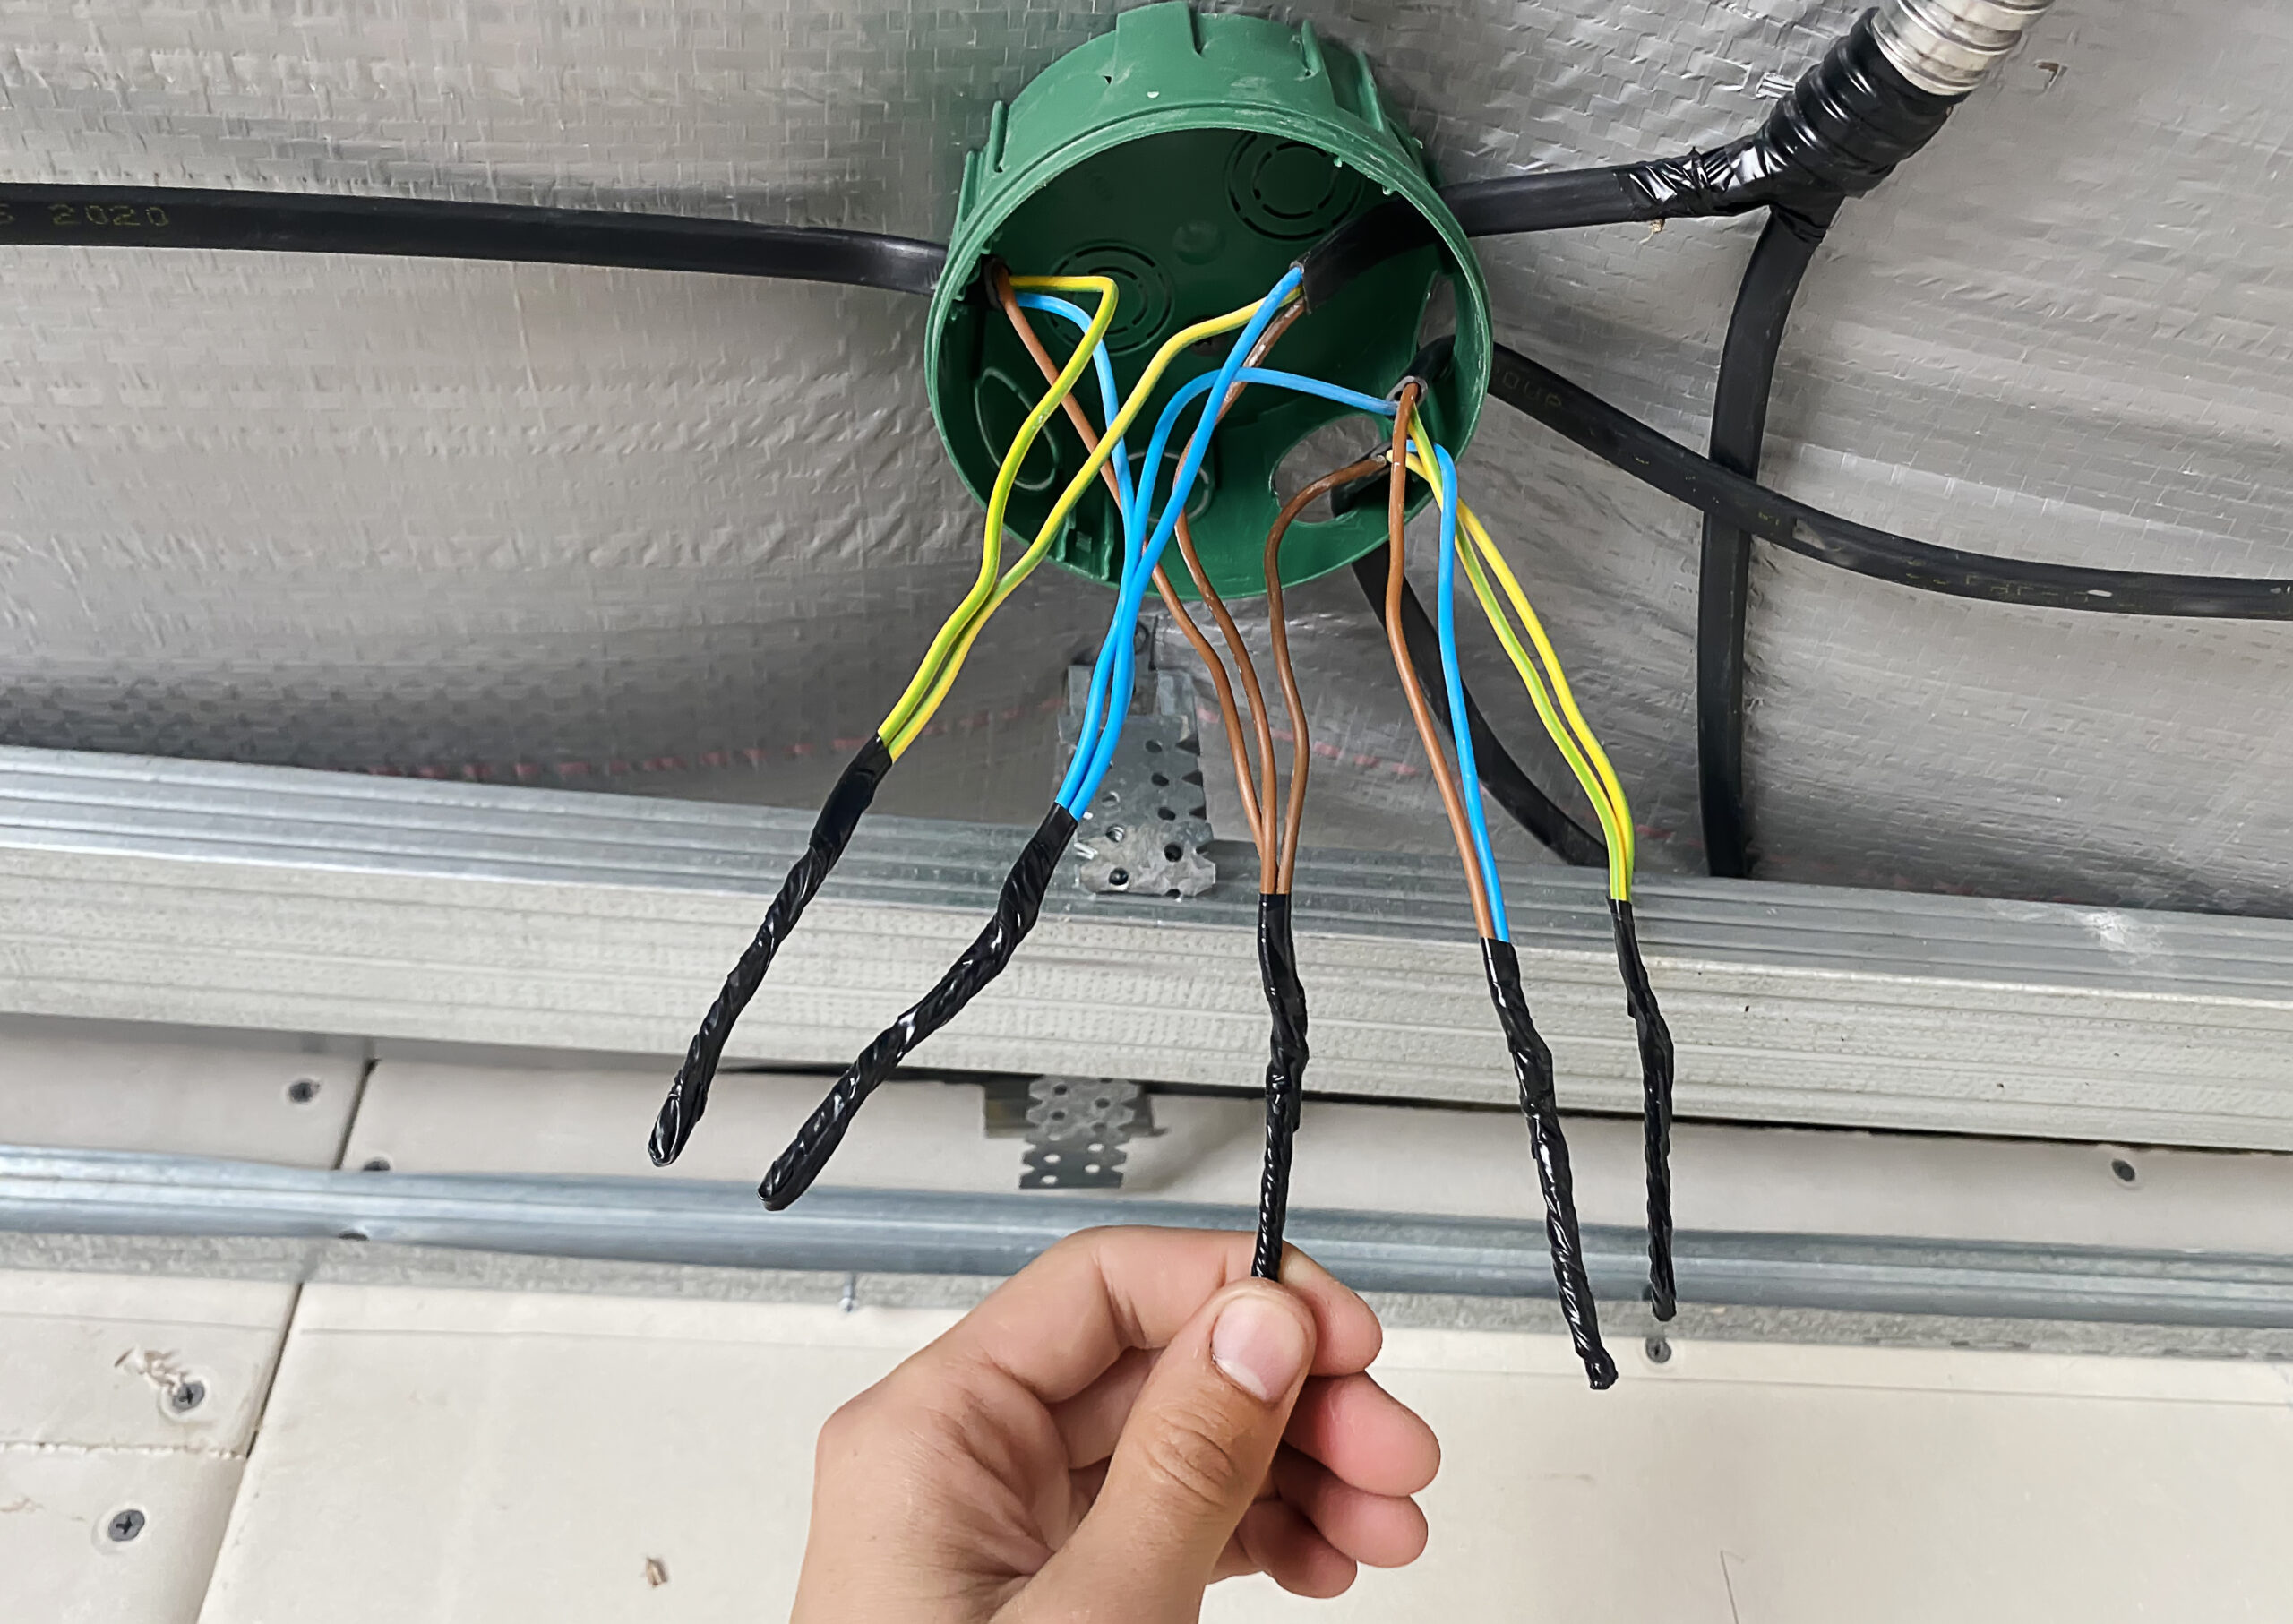
Step 4: Wire the Ceiling Fan
Wiring is a critical part of the installation process. Follow these steps for safe connections:
- Turn Off Power: Shut off electricity at the circuit breaker.
- Connect Wires: Match the fan wires to the corresponding wires in the ceiling (black to black, white to white, green to ground).
- Secure Connections: Use wire connectors and wrap connections with electrical tape.
Step 5: Attach the Ceiling Fan
With the wiring complete, it’s time to mount the fan.
- Assemble the Fan: Follow the manufacturer’s instructions to attach blades and other components.
- Mount to the Box: Secure the fan to the box using the provided hardware.
- Test Stability: Ensure the fan is firmly attached and balanced.
Step 6: Test the Ceiling Fan
Before finalizing the installation, verify that everything works properly.
- Turn On Power: Restore electricity at the breaker.
- Test the Fan: Check for smooth operation and proper airflow.
- Inspect for Noise: Address any wobbling or unusual sounds by tightening bolts or adjusting blades.
Safety Tips for Installing a Ceiling Fan on a Drop Ceiling
Safety should always be a priority when working with electrical systems and heavy equipment.
- Turn Off Power: Always disconnect power at the breaker before starting.
- Use Proper Support: Never attach a fan directly to a ceiling panel; use a fan-rated brace or box.
- Follow Manufacturer Instructions: Adhere to the fan manufacturer’s guidelines for assembly and installation.
- Seek Professional Help: If unsure, consult an expert electrician to avoid risks.
Challenges You Might Face During Installation
Even with preparation, some challenges can arise:
Limited Access to Joists
- Solution: Use an adjustable support brace to span the distance between joists.
Weak Ceiling Panels
- Solution: Replace the lightweight panel with a sturdier material or reinforce it with additional support.
Complex Wiring

- Solution: Refer to the fan’s wiring diagram or consult an electrician for guidance.
Why Hire a Professional Electrician for Ceiling Fan Installation?
While DIY installations are possible, hiring a professional ensures safety, compliance, and quality.
- Expertise: Professionals understand the complexities of drop ceiling installations.
- Time Savings: Avoid trial-and-error by leaving the work to experienced electricians.
- Warranty Protection: Professional installations often include service guarantees.
Key Takeaway
Installing a ceiling fan on a drop ceiling is achievable with the right tools, preparation, and knowledge. By following this guide, you can tackle the project confidently and enjoy the benefits of improved air circulation and energy efficiency. However, for those unsure about the technical details or seeking a flawless finish, hiring a professional like Boca Electrical Services, Inc.is the safest and most reliable option.
Essential Insights: Key Takeaways From This DiscussionPeople Also Ask
Can I install a ceiling fan on any drop ceiling?
No, drop ceilings require fan-rated braces or boxes to support the fan’s weight securely.
How much weight can a drop ceiling hold?
Standard panels cannot hold heavy loads. Always use additional support to install ceiling fans.
Do I need a permit to install a ceiling fan?
Permit requirements vary by location. Check with your local building authority.
Can I replace an old light fixture with a ceiling fan on a drop ceiling?
Yes, but ensure the existing support structure is fan-rated and secure.
How long does it take to install a ceiling fan on a drop ceiling?
Installation typically takes 2–4 hours, depending on the complexity and preparation.
Say Goodbye to DIY Worries—Call Boca Electrical Services Now!
Effortless Ceiling Fan Installation with Boca Electrical Services, Inc.
Don’t let the challenges of drop ceiling installations stop you from enjoying the comfort of a ceiling fan. At Boca Electrical Services, Inc., we specialize in ceiling fan installationsand offer professional services tailored to your needs. Our experienced electricians ensure a seamless process, from mounting to wiring, with safety and quality at the forefront.
Explore more tips and tools mentioned in this guide, or contact us for a personalized consultation to get your project started. Trust the experts with over 38+ years of experience serving Boca Raton, Delray Beach, and the greater South Florida area.
Get in Touch Today
📍 Address:158 NW 16th St #2, Boca Raton, FL 33432, United States
📞 Phone:+1 561-235-2513
🌐 Website:Visit Boca Electrical Services, Inc.