Ever found yourself wishing you could control your hallway or staircase lighting from either end? Mastering how to wire a 3-way switch not only makes this possible but also adds a functional upgrade to your home’s lighting system. In this guide, we’ll walk you through a clear, step-by-step process that demystifies the technicalities of wiring a 3-way switch. From gathering the right tools to testing your setup, we cover all the essentials you need to enhance your DIY skills and your home’s functionality. Keep reading to unlock the secrets of efficient and safe electrical work that will light up your home in ways you hadn’t imagined.
Understanding 3-Way Switches
A 3-way switch configuration is integral to modern residential electrical systems, allowing flexible control of lighting across various sections of a home such as hallways, stairways, and large rooms. This setup provides the convenience of controlling a single light fixture from two separate locations, which is ideal for both safety and practicality in everyday living.
Traveler Wires
Traveler wires are essential components in the 3-way switch mechanism, facilitating the alternate pathways needed for the current to travel between the two switch locations.
- Function: These wires provide the connection between the two switches, allowing the electrical current to pass through multiple routes depending on the switch positions.
- Color Coding: Often, traveler wires are identifiable by their distinct colors, which differ from the common and ground wires, aiding in correct installation and troubleshooting.
- Connectivity: Each switch in the 3-way setup has two terminals connected to traveler wires, which are interchangeable at these terminals, reflecting the switch’s position and the corresponding lighting response.
Common Terminal
The common terminal serves as a critical junction in 3-way switch installations, handling the main connection from the power source or leading to the light fixture, depending on the switch configuration.
- Purpose: It either connects to the hot wire that brings in the power or extends to the switch leg that leads to the lighting fixture.
- Identification: Typically marked differently from other terminals (often a different color or labeled), the common terminal is crucial for the correct wiring of the circuit.
- Wiring Flexibility: Understanding which wire to connect to the common terminal is essential for the system’s functionality, as it determines the flow of electricity in the 3-way configuration.
Tools and Materials You Will Need
Before you begin your project, gathering the right tools and materials is crucial for a successful installation. Here’s what you’ll need:
Essential Tools List
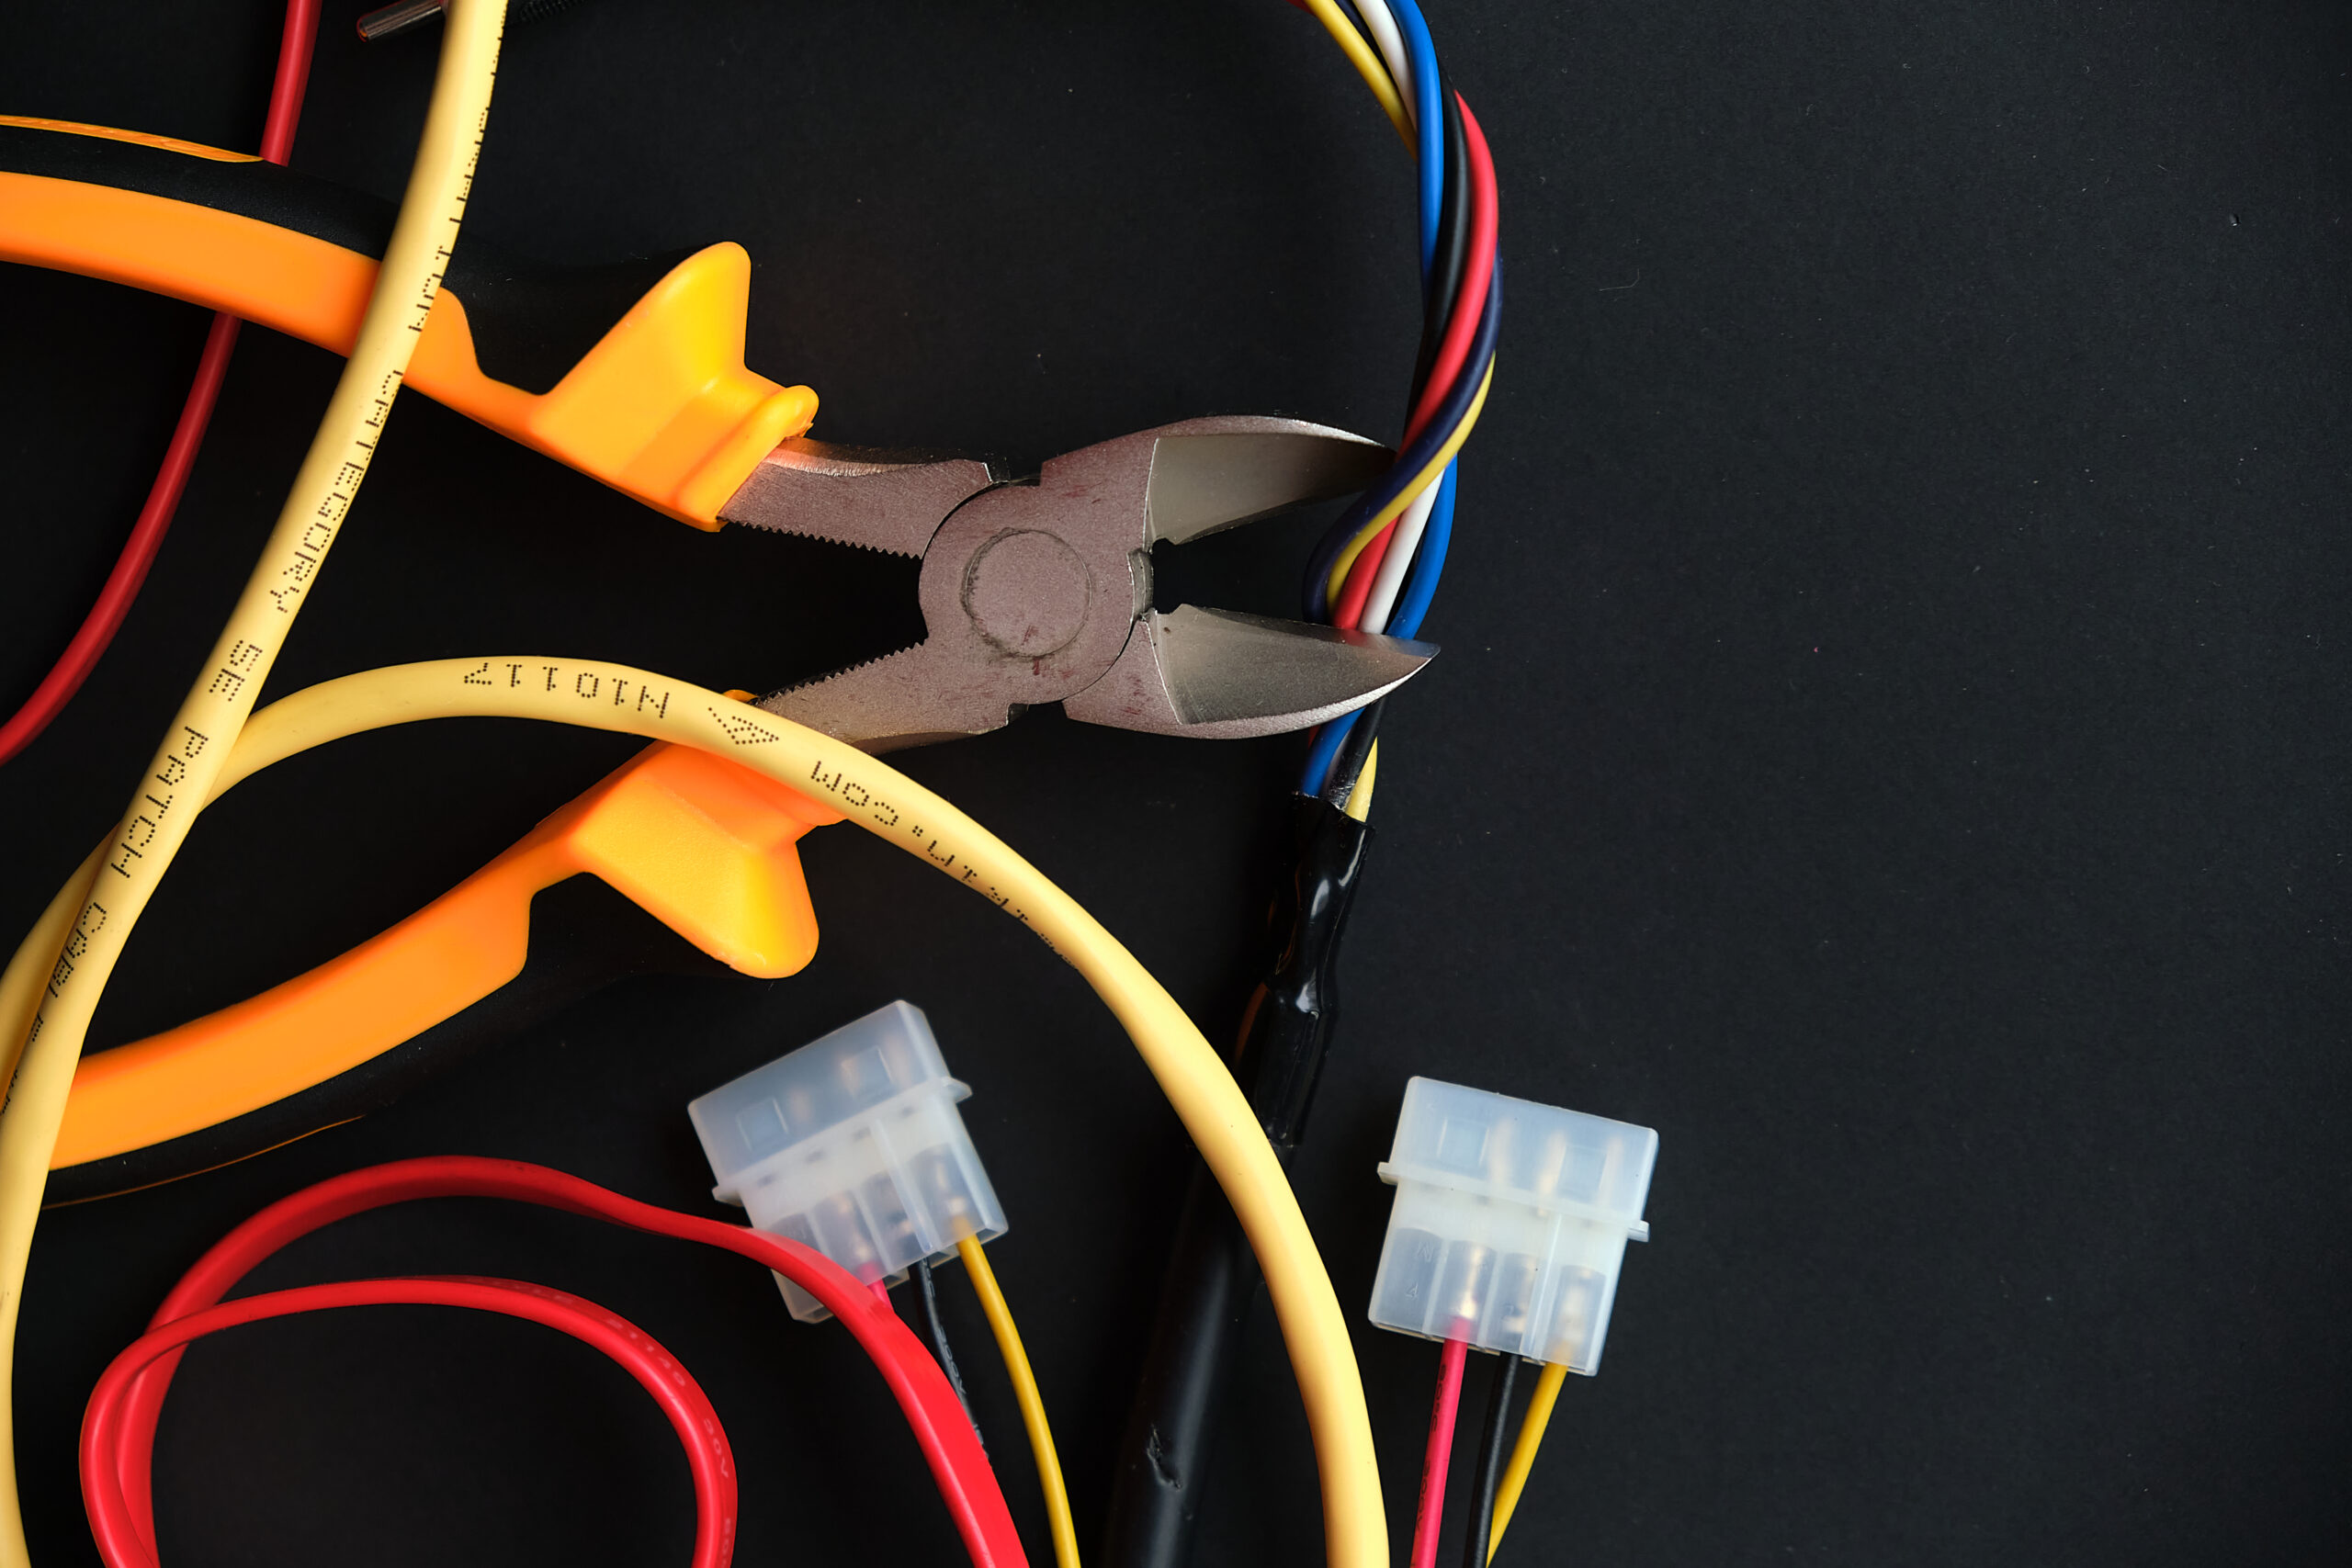
 Pliers tool cutting red electric wire closeup on black background, service and repairing concept. cuts electrical wires with pliers, installation of household electrical appliances
- Wire Strippers:For removing insulation from wires.
- Screwdrivers:Phillips and flat-head, for securing wire terminals.
- Voltage Tester:To ensure power is off before you start wiring.
Materials Checklist
- 3-Way Switches:Two are required for one 3-way circuit.
- Wire Nuts:For safely connecting wires together.
- Electrical Tape:To insulate and secure wire connections.
Step-by-Step Installation Guide
Follow these steps to wire your 3-way switch confidently and safely.
Safety First: Preparing to Work
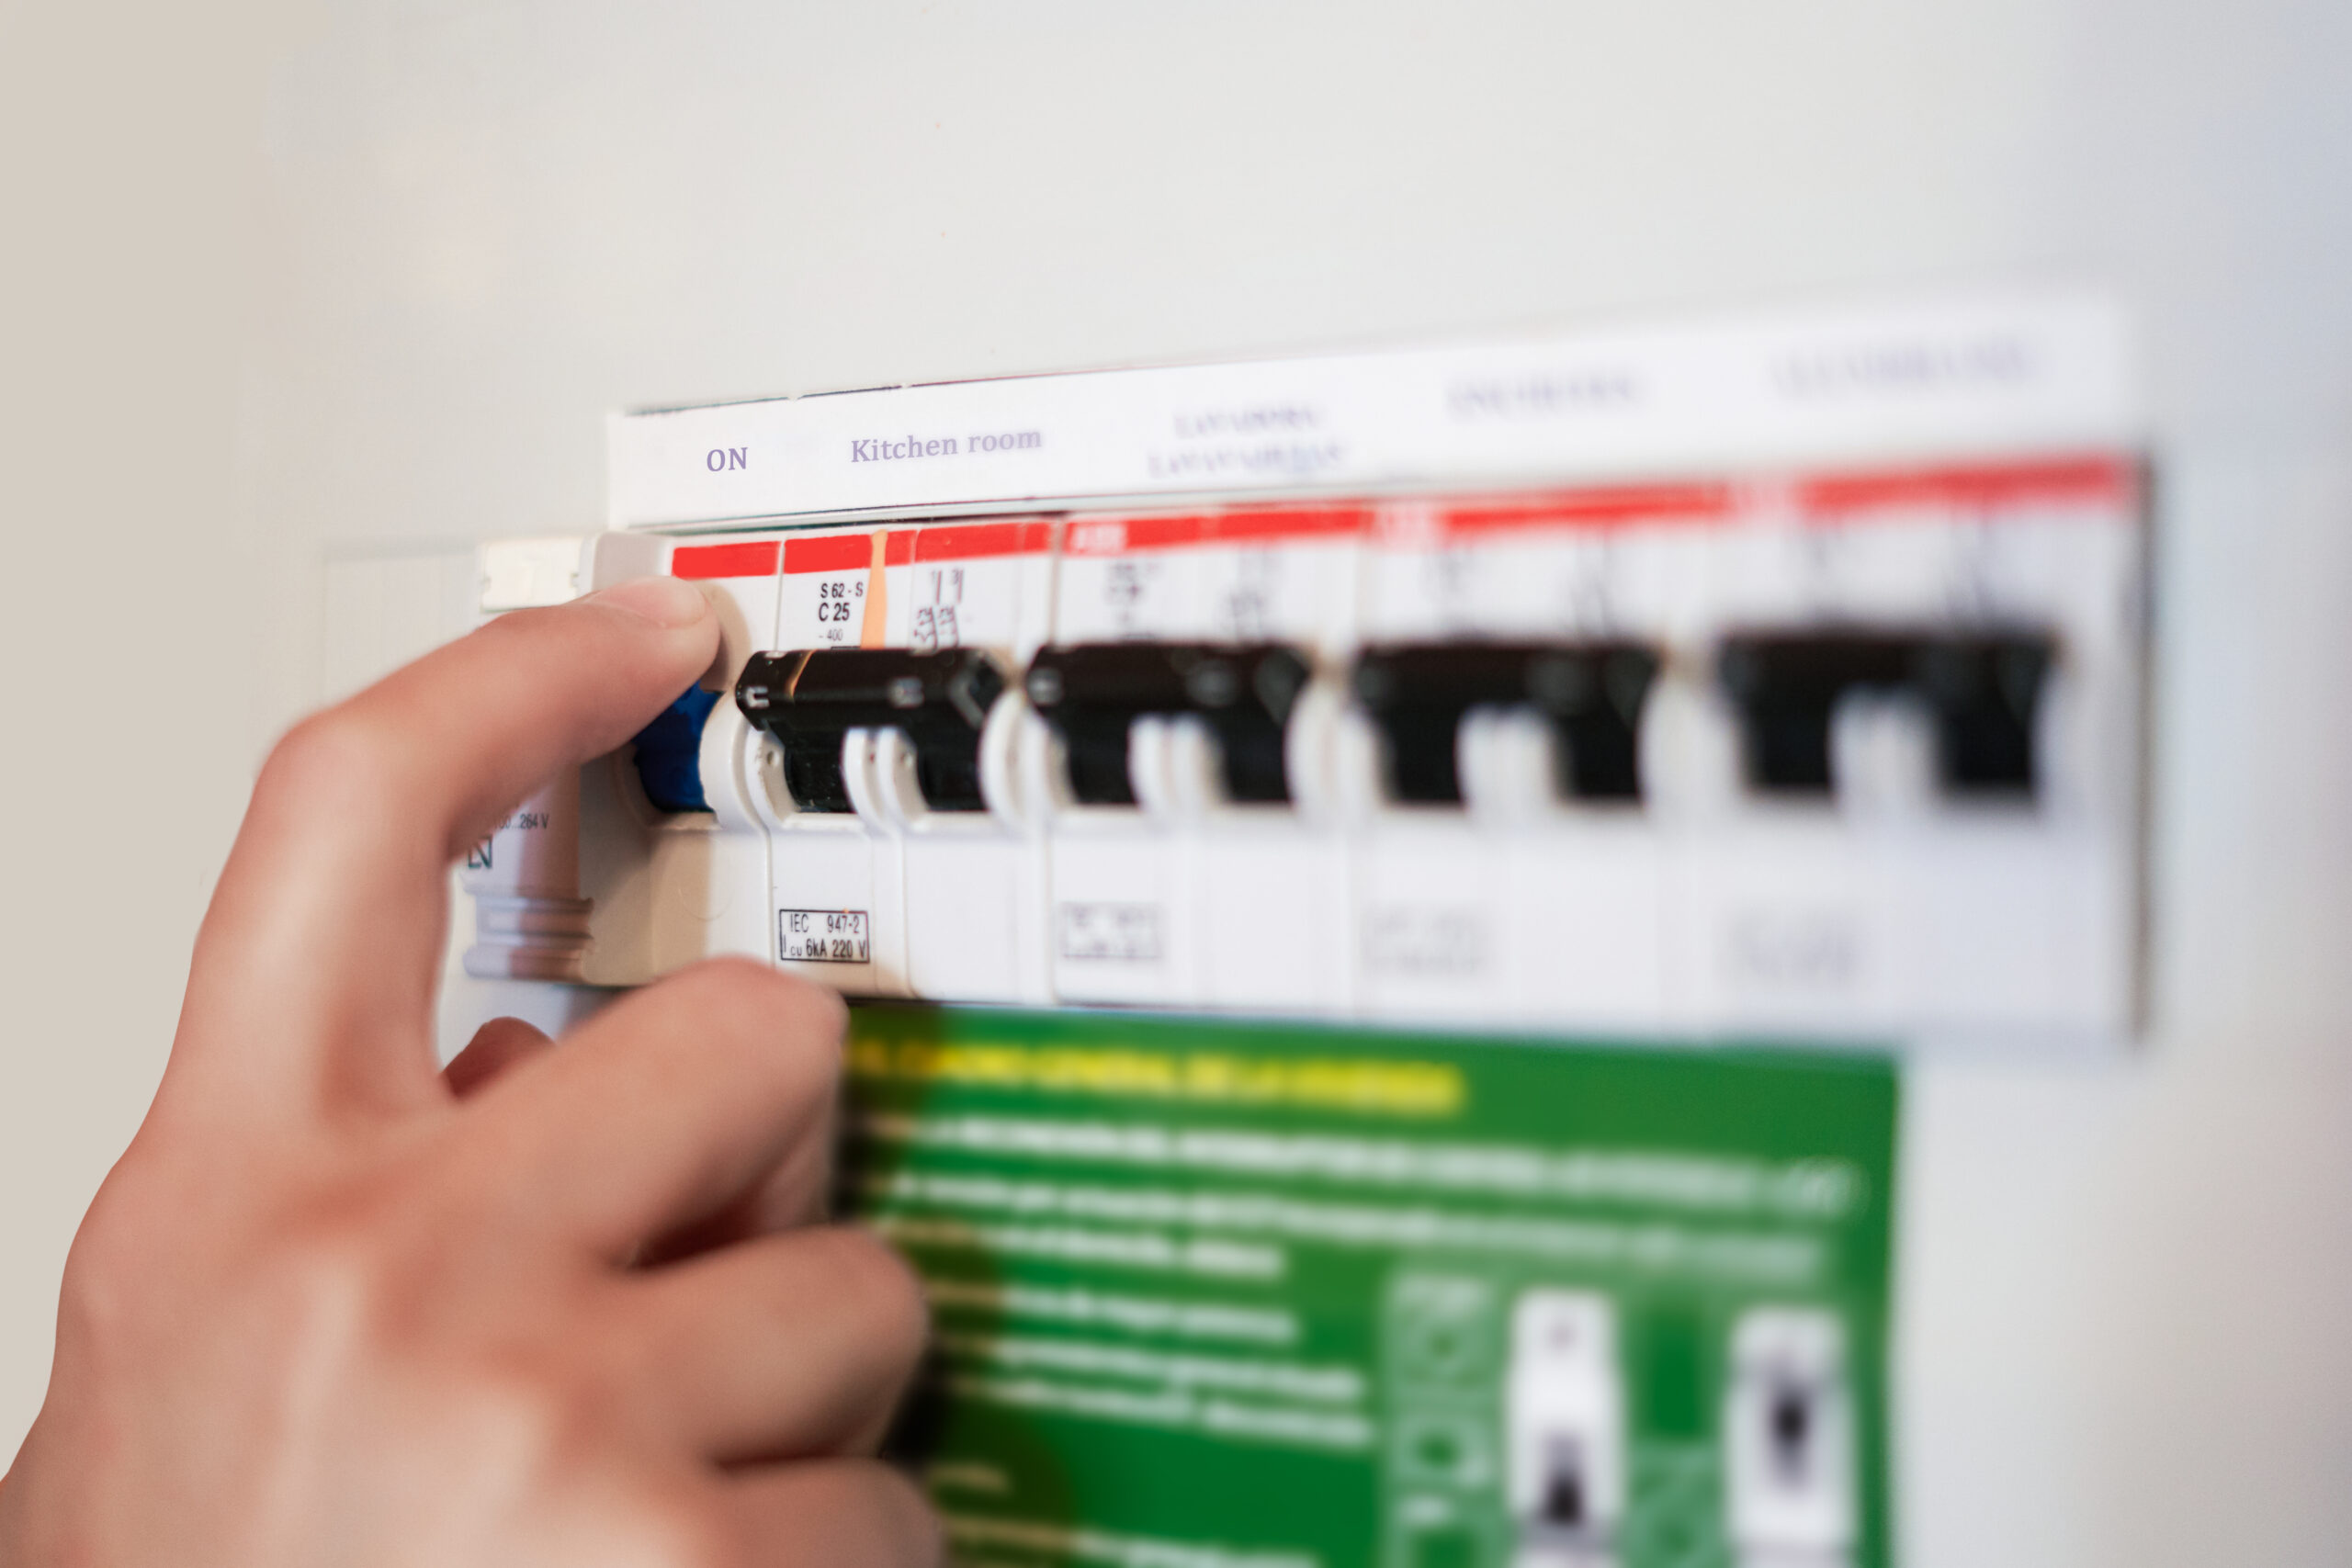
- Turn Off Power:Always start by shutting off the power at the circuit breaker.
- Confirm Power Is Off:Use a voltage tester at the switch location to ensure no current.
Wiring the First Switch
- Connect the Common Wire:Attach the black (hot) wire to the common terminal of the first switch.
- Attach Traveler Wires:Connect the red and white (or other colors, depending on your setup) traveler wires to the remaining terminals.
Wiring the Second Switch
- Repeat for the Second Switch:Similar to the first, connect the traveler wires to their respective terminals and the switch leg to the light fixture to the common terminal.
Troubleshooting Common Wiring Mistakes
If your 3-way switch isn’t working as expected, here are some typical issues and how to fix them:
- Incorrectly Connected Wires:Ensure the common and traveler wires are not switched around. Double-check their configuration.
- Loose Connections:Tighten any loose wire nuts or terminal screws.
Testing and Finalizing Your Installation

Once everything is connected, it’s time to test your work:
- Restore Power:Turn the circuit breaker back on.
- Test Both Switches:Make sure the light operates correctly from both switch locations.
- Secure the Switches:Once tested, secure the switches to the wall and attach the cover plates.
Essential Key Takeaways for Effective Learning and GrowthKey Takeaways
Wiring a 3-way switch is a skill that enhances your home’s functionality and safety, allowing for versatile lighting control in critical areas. By understanding the essential components like traveler wires and the common terminal, and following the step-by-step guide provided, you can confidently undertake this project with a clear insight into the complexity and benefits it brings. This knowledge not only equips you with the ability to manage your lighting needs but also prepares you for more advanced DIY electrical tasks.
As you continue to explore the realm of home electrical improvements, remember that mastering how to wire a 3-way switch is just the beginning. We encourage you to share your experiences and any challenges you encounter along the way in the comments below. Engaging with fellow DIY enthusiasts can provide additional insights and enhance your learning journey, ensuring that each step you take is safe and successful.
People Also Ask
What should I do if the 3-way switch doesn’t work after installation?
First, ensure that all connections are secure, particularly the traveler wires and the common wire. Check that the power is correctly connected to the common terminal of the first switch and that the switch leg leading to the light fixture is connected to the common terminal of the second switch. If issues persist, consult a licensed electrician to review the installation for any wiring errors or compliance with local electrical codes.
Can I wire a 3-way switch to control lights from more than two locations?
To control lights from more than two locations, you would need to install a 4-way switch setup between the two 3-way switches. This allows for control from three or more locations. Make sure to use switches and wiring that support multi-location control, and follow all electrical safety standards.
Are there different types of 3-way switches for different lighting applications?
Yes, 3-way switches can vary based on the current rating and design suitable for different lighting applications, such as LED, incandescent, or high-load applications. Always select a switch that matches the specifications required for your particular lighting setup to ensure safety and functionality.
What’s the difference between a 3-way switch and a dimmer switch?
A 3-way switch allows you to control a light from two different locations, while a dimmer switch adjusts the intensity of the light from any location. Some modern dimmer switches also offer 3-way functionality, allowing both light intensity control and multi-location operation, which requires careful wiring to function correctly.
How can I visually distinguish a 3-way switch from a regular switch?
A 3-way switch typically has three terminals: two brass traveler terminals and one darker-colored common terminal, compared to a single-pole switch, which has only two terminals. Additionally, 3-way switches will not have the on/off markings found on single-pole switches, as the on and off positions change depending on the state of the other switch in the circuit.
Upgrade Your Home with Expert Help from Boca Electrical Services, Inc.
Now that you’ve mastered how to wire a 3-way switch, why not take your DIY skills further? Whether you’re looking to upgrade more of your home’s electrical systems or need professional help with more complex projects, Boca Electrical Services, Inc. is here to assist. Our experienced team is ready to provide personalized recommendations based on your specific needs. Visit our website or call us at +1 561-235-2513 to learn more about our services and how we can help enhance your home’s functionality and safety.