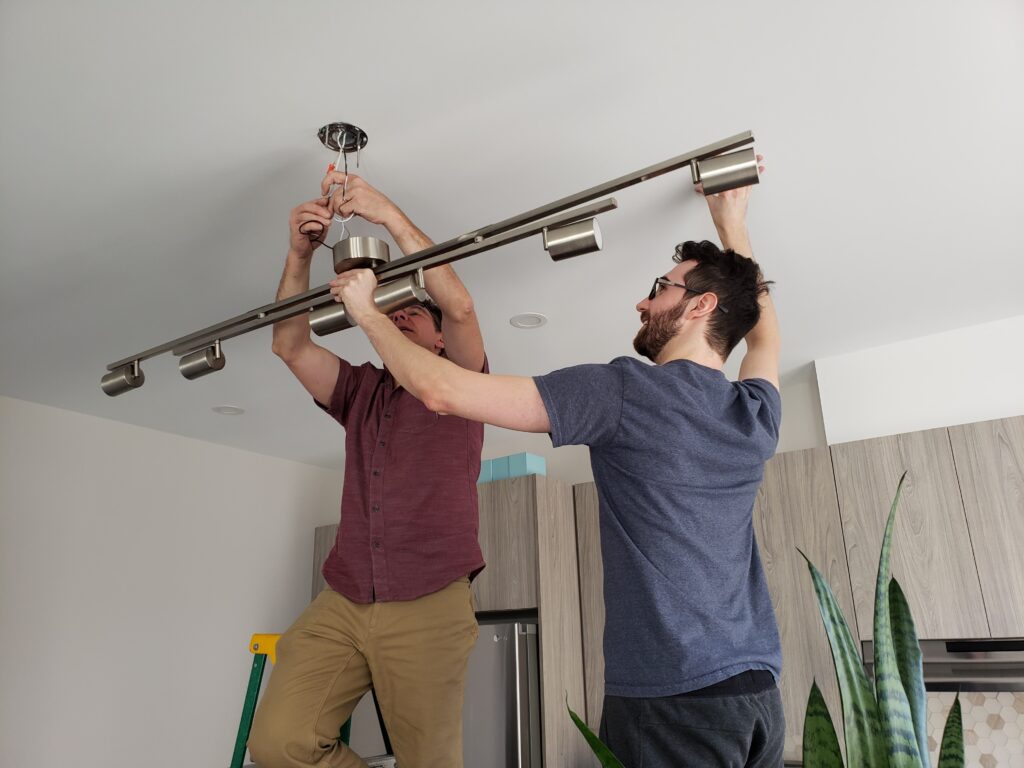
Are you tired of that outdated ceiling light fixture? Ready to give your room a fresh new look? Replacing a ceiling light fixtureis a DIY project that can be tackled by most homeowners with basic electrical knowledge. This step-by-step guide will walk you through the process, from gathering the necessary tools to testing the final installation. Let’s get started!
Gather Your Tools and Supplies
Before you embark on your DIY ceiling light fixture replacement, it’s crucial to gather the necessary tools and supplies. Having the right equipment will ensure a smooth and efficient installation process.
Essential Tools
- Screwdriver:A Phillips-head screwdriver is typically the most common type needed for this task. It’s used to remove and secure screws on the old and new fixtures.
- Wire Stripper:A wire stripper is essential for safely removing the insulation from electrical wires. It allows you to expose the copper conductors for proper connection.
- Voltage Tester:A voltage tester is a safety tool that helps you verify that the power is turned off before working on the electrical wiring. This prevents accidental electric shock.
- Ladder:A sturdy ladder is necessary to reach the ceiling safely and securely. Ensure the ladder is rated for your weight and the height you need to reach.
Necessary Supplies
- New Light Fixture:Choose a new light fixture that complements your room’s style and meets your lighting needs. Consider factors like size, finish, and light bulb type.
- Wire Nuts:Wire nuts are used to connect the electrical wires together securely. They come in various sizes, so choose the appropriate size for your wire gauge.
- Electrical Tape:Electrical tape is used to insulate wire connections and prevent short circuits. It’s important to use high-quality electrical tape that is rated for indoor use.
- Junction Box:A junction box is used to connect the new fixture’s wiring to the existing wiring in the ceiling. It provides a safe and organized way to connect the wires.
By gathering these essential tools and supplies, you’ll be well-prepared to tackle your DIY ceiling light fixture replacement project.
Safety First: Powering Off the Circuit

Prioritizing safety is crucial when working with electrical components. Before you begin the installation process, it’s essential to power off the circuit to prevent electrical shock.
Locate the Circuit Breaker
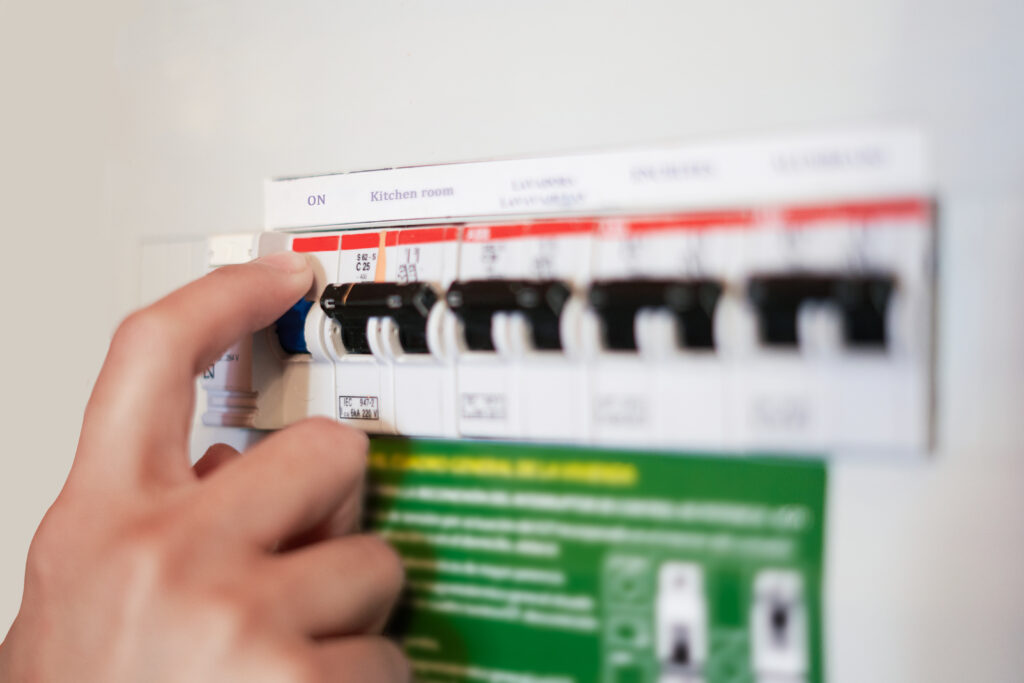
- Identify the Circuit:Determine which circuit breaker controls the light fixture you want to replace. You can use a circuit breaker finder or turn off the breakers one by one until the light turns off.
- Turn Off the Breaker:Once you’ve identified the correct circuit, turn off the breaker completely.
Test for Power
- Use a Voltage Tester:Before touching any wires, use a voltage tester to verify that the power is completely off. A voltage tester is a simple device that can detect the presence of voltage.
- Visual Inspection:Visually inspect the wires for any signs of damage, such as frayed insulation or exposed wires. If you notice any damage, it’s best to consult a professional electrician.
Removing the Old Fixture
Once you’ve ensured the power is off, you can proceed with removing the old light fixture.
Detach the Old Fixture
- Remove the Glass Cover:Gently remove the glass cover or shade from the fixture. Be careful not to drop or damage the glass.
- Unscrew the Fixture:Use a screwdriver to carefully unscrew the mounting screws that hold the fixture to the ceiling. Once the screws are removed, the fixture should detach from the mounting bracket.
- Disconnect the Wiring:Carefully disconnect the electrical wires from the old fixture. Take note of the color coding of the wires (usually black, white, and ground) to ensure correct reconnection when installing the new fixture. Use a wire stripper to remove any insulation from the wire ends if necessary.
Installing the New Fixture

Once you’ve removed the old fixture, you can proceed with installing the new one.
Attach the Mounting Bracket
- Align the Bracket:Carefully align the mounting bracket of the new fixture with the existing holes in the ceiling.
- Secure the Bracket:Use a screwdriver to screw the mounting bracket into the ceiling joists. Ensure the bracket is securely fastened to provide a solid base for the fixture.
Connect the Wiring
- Strip the Wires:Strip the insulation from the ends of the electrical wires using a wire stripper. Expose about ½ inch of bare wire.
- Connect the Wires:Connect the corresponding wires together: black to black, white to white, and ground to ground. Twist the wires together tightly to ensure a secure connection.
- Secure the Connections:Use wire nuts to secure the wire connections. Wrap electrical tape around the wire nuts for added insulation.
Hang the Fixture
- Attach the Fixture:Carefully hang the new fixture onto the mounting bracket. Ensure it is securely attached.
- Level the Fixture:Use a level to ensure the fixture is level. A level fixture will look more aesthetically pleasing and function correctly.
- Secure the Fixture:Tighten the mounting screws to secure the fixture firmly in place.
Testing and Finishing Touches
Once you’ve completed the installation, it’s time to test your new light fixture and make any final adjustments.
Turn on the Power
- Turn on the Circuit Breaker:Carefully turn on the circuit breaker to restore power to the fixture.
- Test the Fixture:Turn on the light switch to test the new fixture. Ensure all functions, such as the light and fan (if applicable), work correctly.
Final Adjustments
- Level the Fixture:If necessary, use a level to ensure the fixture is perfectly level. A level fixture will look more aesthetically pleasing and function correctly.
- Install Light Bulbs:Install the appropriate type and wattage of light bulbs, as recommended by the manufacturer.
- Clean Up:Clean up any debris, such as wire scraps or dust, from the work area.
By following these steps and prioritizing safety, you can successfully replace your ceiling light fixture and enhance your home’s lighting.
Key Takeaways
By following these steps and prioritizing safety, you can successfully replace a ceiling light fixtureand enhance your home’s lighting. Remember to gather the necessary tools and supplies, turn off the power, and carefully connect the wiring. With patience and attention to detail, you can complete this DIY project and achieve a professional-looking result.
As technology continues to advance, we may see even more innovative and energy-efficient lighting solutions in the future. Stay updated on the latest trends and advancements in home lighting to keep your home stylish and functional.
We encourage you to share your DIY experiences and tips with other readers. By sharing knowledge and learning from each other, we can continue to empower homeowners to tackle home improvement projects with confidence.
FAQs – People Also Ask\
Do I need a permit to replace a ceiling light fixture?
Local building codes may require a permit for electrical work, including replacing a ceiling light fixture. It’s best to check with your local building department to determine if a permit is required.
How do I know which circuit breaker controls the light fixture?
You can use a circuit breaker finder tool to identify the correct breaker. Alternatively, you can turn off the main breaker and then turn on individual breakers one by one, checking the light fixture each time to see if it turns on.
Can I replace a ceiling fan with a light fixture?
Yes, you can replace a ceiling fan with a light fixture, but it requires some additional steps. You’ll need to remove the fan and its mounting bracket, and then install a new mounting bracket for the light fixture. Consult an electrician if you’re unsure about the process.
What type of light bulb should I use for my new fixture?
The type of light bulb you should use depends on the fixture’s socket type and your lighting needs. Common types include incandescent, fluorescent, and LED bulbs. Consider factors like energy efficiency, brightness, and color temperature when choosing bulbs.
How often should I clean my light fixture?
It’s recommended to clean your light fixture at least once every six months. Dust and debris can accumulate on the fixture, affecting its appearance and performance. Use a soft cloth or duster to gently clean the fixture, avoiding harsh chemicals that could damage the finish.
Let the Professionals Handle Your Ceiling Light Fixture Replacement
While replacing a ceiling light fixture can be a rewarding DIY project, it’s important to prioritize safety and efficiency. If you’re unsure about any step or encounter any difficulties, it’s best to consult a professional electrician.
Boca Electrical Services, Inc.offers expert electrical services, including ceiling light fixture installation. Our licensed electricians can ensure a safe and efficient installation, saving you time and hassle.
Contact us today for a free quote:
Boca Electrical Services, Inc.158 NW 16th St #2, Boca Raton, FL 33432 +1 561-235-2513