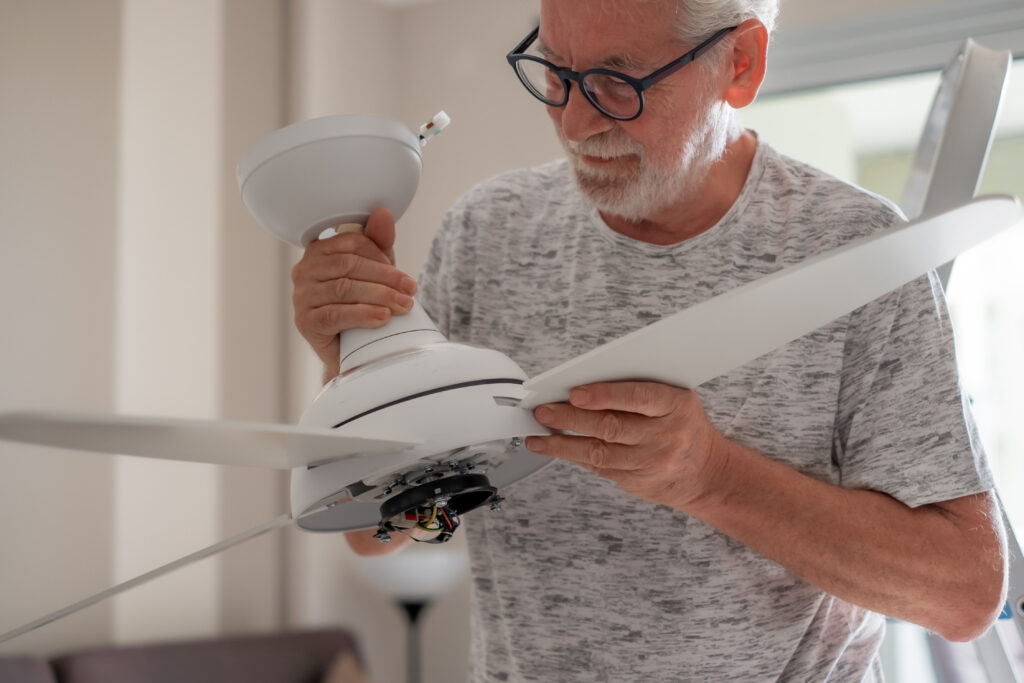
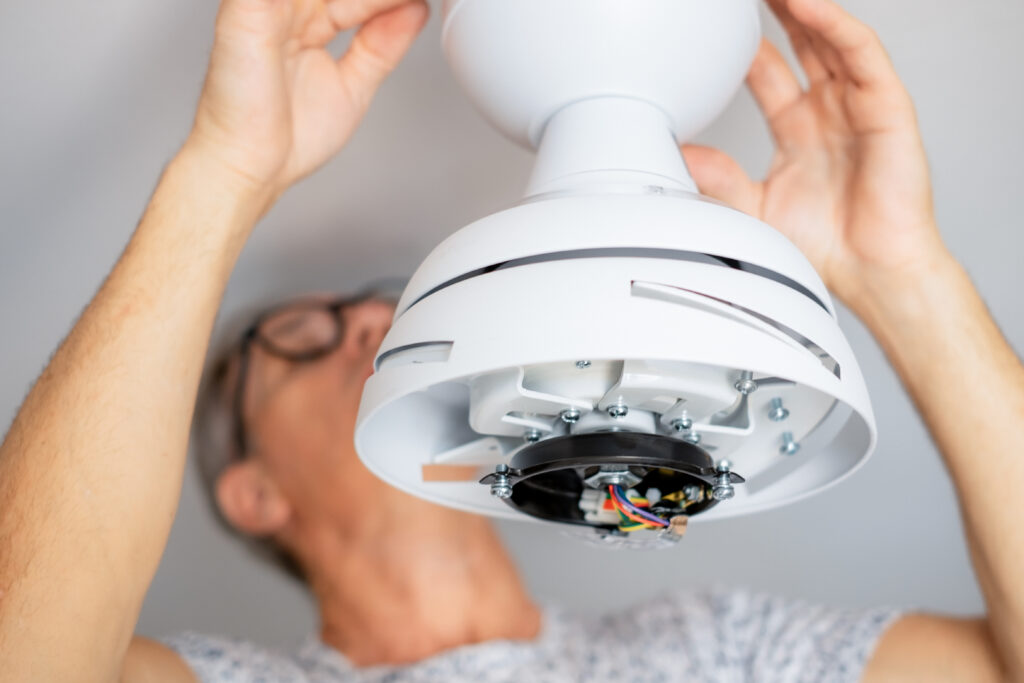
Are you tired of sweltering summer nights or chilly winter drafts? A well-installed ceiling fancan provide year-round comfort, improving air circulation and energy efficiency. However, a DIY ceiling fan installation can be daunting, especially for those without electrical experience. This comprehensive guide will walk you through the step-by-step process, from selecting the right fan to ensuring safe and efficient installation.
Essential Tools and Supplies
Having the right tools and supplies is crucial for a successful ceiling fan installation. The right tools will not only make the process more efficient but also ensure a safe and secure installation.
Basic Tools
- Ladder:A sturdy, well-maintained ladder is essential for reaching the ceiling safely. Ensure the ladder is rated for the weight capacity and has non-slip feet.
- Screwdriver:A Phillips-head screwdriver is the most common type needed for ceiling fan installation. It’s used to secure screws for the mounting bracket, fan blades, and light kit.
- Wire Stripper:A wire stripper is used to remove the insulation from electrical wires, ensuring proper connections and preventing short circuits.
- Level:A level is a crucial tool for ensuring the fan is installed straight and level. A misaligned fan can cause imbalance, noise, and poor performance.
Electrical Supplies
- Wire Nuts:Wire nuts are used to connect electrical wires together securely. It’s important to use wire nuts that are the correct size for the wire gauge.
- Electrical Tape:Electrical tape is used to insulate wire connections and prevent short circuits. Ensure the tape is rated for electrical use.
- Junction Box:A junction box is used to connect the ceiling fan’s wiring to the house wiring. It provides a safe and organized way to connect the wires.
Prioritizing Safety First: Essential Tips for a Secure EnvironmentSafety First
Prioritizing safety is paramount during the ceiling fan installation process. By following these essential safety guidelines, you can minimize the risk of accidents and injuries.
Electrical Safety
- Turn Off Power:Always turn off the power to the circuit at the breaker box before starting the installation. This will prevent accidental electrocution.
- Use Insulated Tools:Use insulated screwdrivers and wire strippers to avoid electrical shock.
Ladder Safety
- Stable Base:Ensure the ladder is placed on a stable, level surface, such as a concrete floor or a solid wooden platform. Avoid placing the ladder on uneven or slippery surfaces.
- Proper Extension:Extend the ladder to the appropriate height, but avoid overextending your reach. Overreaching can lead to loss of balance and falls.
Step-by-Step Installation Guide

This section will guide you through the process of installing your ceiling fan, step-by-step. By following these instructions carefully, you can ensure a safe and efficient installation.
Mounting the Brackets
- Locate Joists:Find the ceiling joists using a stud finder.
- Mark Mounting Points:Mark the spots on the ceiling where you’ll attach the brackets.
- Secure Brackets:Attach the brackets to the joists using screws.
Connecting the Electrical Wiring
- Disconnect Power:Turn off the power to the circuit.
- Connect Wires:Connect the corresponding wires: black to black, white to white, and green to green.
- Secure Connections:Use wire nuts to secure the connections.
Hanging the Fan
- Attach Fan to Brackets:Carefully hang the fan onto the brackets.
- Level the Fan:Ensure the fan is level using a level tool.
- Secure the Fan:Tighten the mounting screws.
Installing the Blades
- Attach Blades:Attach the fan blades to the motor housing.
- Tighten Screws:Secure the blades with screws.
Finalizing the Installation
- Install Light Kit:If applicable, attach the light kit.
- Install Remote Control Receiver:If applicable, attach the remote control receiver.
- Test the Fan:Turn on the power and test the fan’s functions.
Troubleshooting Common Issues

Even with careful installation, you may encounter some common issues with your ceiling fan. Here are some tips to troubleshoot these problems:
Fan Won’t Turn On
- Check Circuit Breaker:Ensure the circuit breaker controlling the fan is turned on.
- Inspect Wiring:Double-check all wire connections to ensure they are tight and secure.
- Test Remote Control Batteries:Replace the batteries in your remote control and try again. Low battery power can prevent the remote from functioning correctly.
Fan Makes Noise
- Tighten Loose Parts:A common cause of noise is loose screws or blades. Tighten all screws, particularly those securing the blades to the motor housing.
- Lubricate Motor (if necessary):Consult your fan’s manual for specific lubrication instructions. Some fans may require periodic lubrication to reduce friction and noise.
Fan Wobbling
- Balance Blades:A wobbling fan is often caused by unbalanced blades. You can balance the blades by adding or removing small weights to the blade tips. Consult your fan’s manual for specific instructions on balancing blades.
By following these troubleshooting tips, you can identify and resolve common issues, ensuring your ceiling fan operates smoothly and quietly.
Key Takeaways
By following these guidelines and taking the necessary precautions, you can successfully install a ceiling fanand enhance your home’s comfort. Remember to prioritize safety, use the right tools, and double-check all connections.
As technology continues to advance, we can expect to see even more innovative and energy-efficient ceiling fans on the market. By staying informed about the latest trends and best practices, you can make informed decisions to select and install the perfect ceiling fan for your home.
We encourage you to share your experiences and ask any questions you may have in the comments section below. By sharing knowledge and learning from each other, we can continue to improve our DIY skills and create comfortable and stylish homes.
FAQs – People Also Ask
Can I install a ceiling fan myself?
While it’s possible to install a ceiling fan yourself, it’s important to have basic electrical knowledge and DIY skills. If you’re unsure about your abilities, it’s recommended to consult a professional electrician to ensure a safe and proper installation.
How much does it cost to install a ceiling fan?
The cost of installing a ceiling fan can vary depending on several factors, including the type of fan, the complexity of the installation, and your location. Generally, the cost of the fan itself, plus the labor cost for installation, can range from $100 to $500 or more.
What size ceiling fan do I need for my room?
The appropriate size of a ceiling fan depends on the square footage of the room. As a general rule of thumb, you can use this formula: Room size (in square feet) divided by 1.75 equals the diameter of the fan in inches. For example, a 12-foot by 12-foot room would require a 54-inch ceiling fan.
How often should I clean my ceiling fan?
It’s recommended to clean your ceiling fan at least once every three months. Dust and debris can accumulate on the blades, affecting the fan’s performance and efficiency. To clean the blades, use a soft cloth or duster to gently wipe away dust and dirt.
Can I install a ceiling fan in a room with vaulted ceilings?
Yes, you can install a ceiling fan in a room with vaulted ceilings. However, it’s important to choose a fan specifically designed for vaulted ceilings. These fans have longer downrods, allowing you to adjust the height and ensure proper airflow. Additionally, consult with a professional electrician to ensure the installation is safe and code-compliant.
Your Home, Your Comfort: Trust Boca Electrical Services, Inc.
A well-installed ceiling fan can significantly improve your home’s comfort and energy efficiency. Let Boca Electrical Services, Inc. handle your ceiling fan installation needs.Our experienced electricians will ensure a safe, efficient, and professional installation.
Contact us today to schedule your appointment:
Boca Electrical Services, Inc.158 NW 16th St #2, Boca Raton, FL 33432 +1 561-235-2513